Taken From CTMH's Blog...
Creating Interactive Cards with Thin Cuts!
Let’s get crafty and use those Thin Cuts we’ve been talking about all month long on some fun interactive cards!
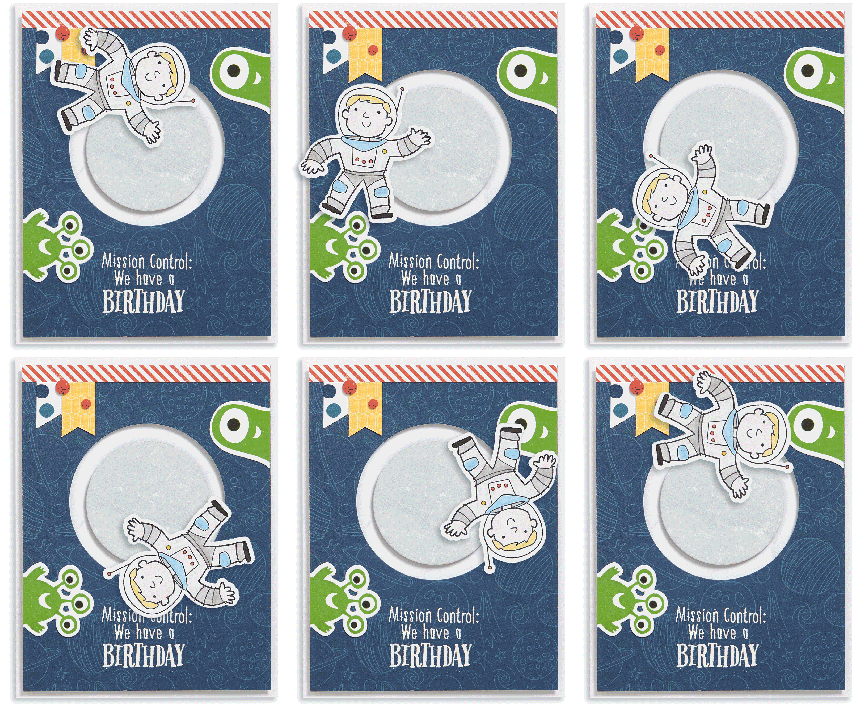
Today we are going to walk through making this astronaut in orbit card, since it is the harder of the two to make. Once you’ve got that one down, making others like it will be a breeze!
Prepare and Cut.
To replicate our card exactly, you will need the following pieces:
- 1 standard card base
- 4″ x 5¼” Pacifica planets paper (Stargazer paper packet)
- 4″ x ¼” Poppy striped paper (Stargazer paper packet)
- Trimmed zip strips to use as accents (Stargazer paper packet)
- Astronaut die cut from White Daisy cardstock, stamped with Archival Black ink, painted in watercolor (Stargazer Thin Cuts)
- Aliens/monsters die cut from White Daisy cardstock, stamped with Willow ink, pupils colored over with black marker (Monstrous Halloween Thin Cuts)
Step 1. Cutting the circle.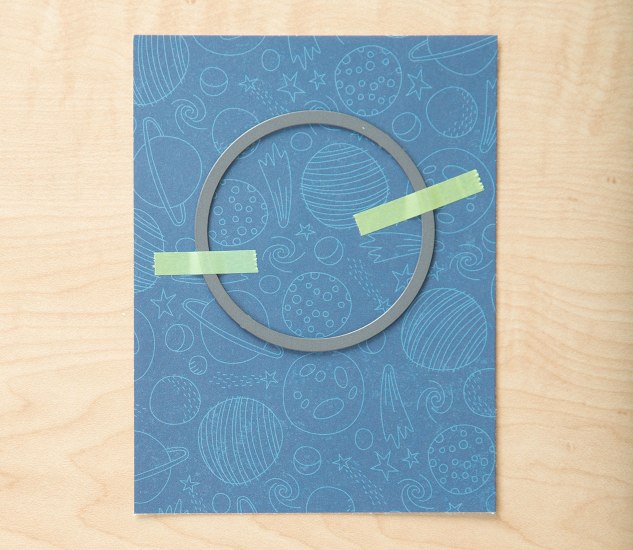
Place the 2½” circle die (the largest one in the set) ¾” from the top of the planets paper and centered, left to right. Attach it with washi tape to keep it in place as you run it through your die-cutting machine.
Step 2. Cutting the moon.
Once you’ve cut your first circle, use the inside circle to make the moon.
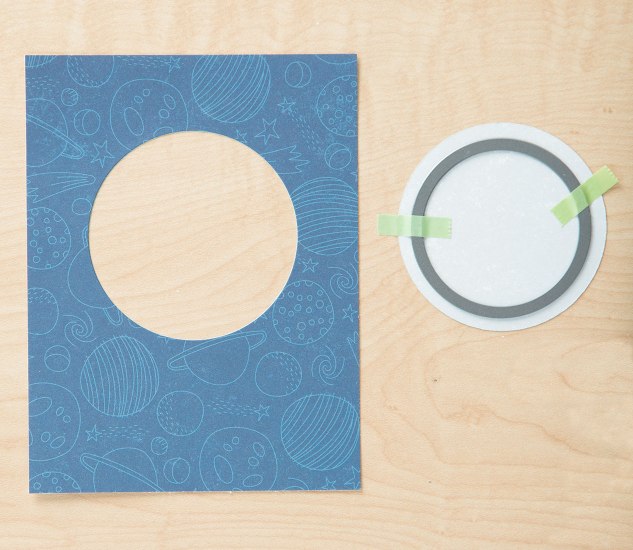
Flip the 2½” circle you just cut out over, to the side of the paper that looks like the surface of the moon. Attach the 2″ circle die to it with washi tape and run it through your die-cutting machine.
Step 3. Attaching the planets paper.

On the backside of your paper, add thin 3-D foam tape as shown here. You will need a small piece of foam tape near the circle to allow the movement later but make sure it isn’t too close to the circle or it will not work! Attach this piece to your card front.
Step 4. Adding the penny.

This step is pretty simple but also requires accuracy. With your card resting on a flat surface, gently tuck your penny (or flat button) behind the planets paper about half way. Be careful to not bump your card, the penny is not attached to anything at this point.
Step 5. Prepping the moon.
With your penny in place, it’s time to prepare the moon for attaching.
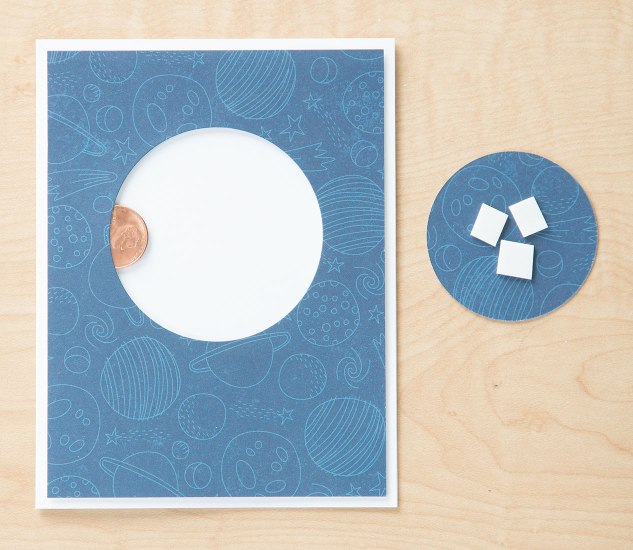
Flip your moon over to the planets side of the paper and add thin 3-D foam tape to the center onlyand attach it to the card. Don’t move the penny.
Step 6. Attaching the astronaut.
Remember our floating penny? Carefully attach a small foam dot to the center of it, between the two papers. Remove the adhesive from the top and attach the astronaut you’ve previously prepared.
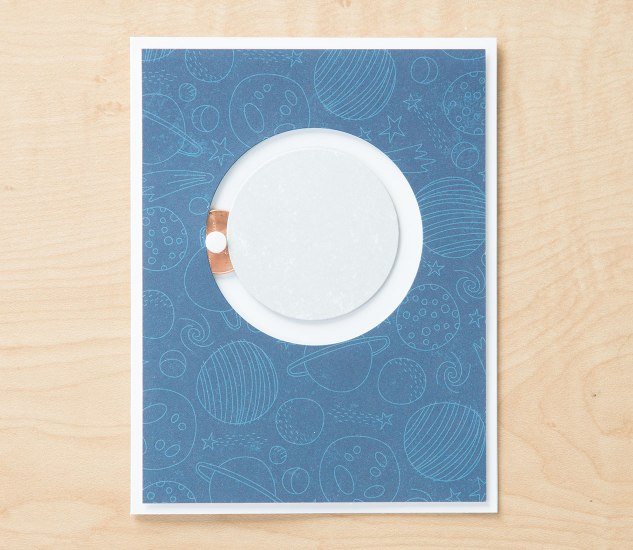
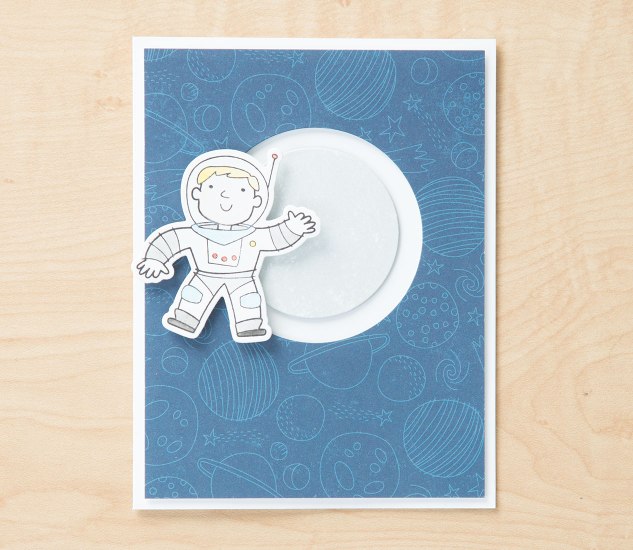
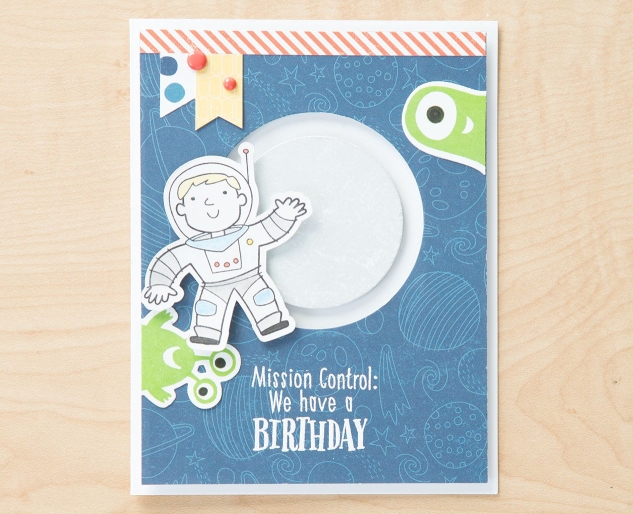
Step 7. Embellish!
Add your sentiment, aliens, and all other embellishments to your card to finish it off!
I can't wait to get home and create my OWN Interactive cards using this FABULOUS technique!!!!


This is a great tutorial! Thank you.
ReplyDelete