Thank you for stopping by to see the CUTEST Halloween Special from CTMH. It's all about the BOO CREW for this Special and I am joining five other Makers to bring you a few ideas on how to use this collection.
If you've come from Michelle's Blog, you're on the right track...keep hopping around until you get back to where you started. Don't worry, it won't take long! If you're starting here, WELCOME! If you get lost along the way, you can always head on over to Melinda's Blog for a complete list!
I decided to make some sucker covers for some Halloween treats...
Sucker covers are SUPER EASY to make! This one measures 3x3 finished and that is based on the size of my sucker...you can make it whatever size is appropriate for yours. Isn't that stamped ghost with the that little bowtie the CUTEST (talk about TOO CUTE TO SPOOK)...
This one uses the pumpkin and bat images, all cut using the coordinating Thin Cut that comes with the Boo Crew Stamp Set + Thin Cuts...the "CANDY DAY" is cut from one of the patterned papers in the Boo Crew Paper Packet...
Thanks for stopping by! Your next stop is Brenda's Blog and she's the tail-end. Don't forget to visit everyone's blog and leave some love along the way!
***REMEMBER...you can order this BOO CREW Special now on my website***
Halloween may look a bit different this year than what we’re used to, but that doesn’t mean we can’t still have some fun! To keep the tradition of offering treats where treats are due, we’ve designed a few tags in Cricut Design Space™ using our festive Got Candy? paper collection and we’re sharing our designer’s file with you free, here!
The spooky themes of the Got Candy? patterned papers and stickers paired with the versatile shapes of our Art Philosophy Cricut® collection are a scream-of-a-treat all on their own! To access our free file, you will need your own access to the shapes of the Art Philosophy collection. If you do not own this Cricut® collection and would like to make the tags from this project, contact your Close To My Heart Maker to learn how.
Four of the seven pieces are tags that come together quickly with a few cut shapes, stickers, and some ribbon. If you take a closer look at the remaining three, you’ll notice that there’s a little something extra about them.
These remaining few pieces also come together easily, but they do have some extra features! There’s a tag that has a pocket to carry a gift card, a tag that opens up to a card, and a hanging door tag that can hold a small treat (perfect for ding dong ditching!).
Whether you choose to make just one or all of these delectable handmade tags, we hope you continue to find ways to enjoy sharing the festive Halloween spirit this year. If you have any questions about these projects or would like to share ways that you’ve been using the Got Candy? paper collection, leave us a comment below!
For additional crafting fun with our Got Candy? collection, don’t forget to join us later this week, October 21 and 22, at 2 p.m. (MDT), on our Facebook page where we will be hosting a free live workshop, making scrapbook pages and treat toppers! (Visit our events page for more details.)
Here's a closeup of the stenciling. I took the Stencil Pack 3 and cut apart all the different squares (you can leave whole and use but I thought it would be more manageable to cut them apart since that's how I will probably be using them anyway). I laid it on my cardstock base then used my mini-blending tool to sponge Black Soot Distress Oxide ink all over.
Don't forget to head on over to the H2H Blog and see what the other DT Members have to share! You can play along with us, using stencils and at least one identifiable CTMH product before the end of October!
One of the most exciting things about the onset of Autumn here in Utah is the first frost of the season. It’s magical to wake up to a thin layer of white, like the world’s been given a beautiful coat of shimmer! We wanted to show you a quick and easy way to capture some of that Autumnal sparkle in your projects using Stickles™ Glitter Gel!
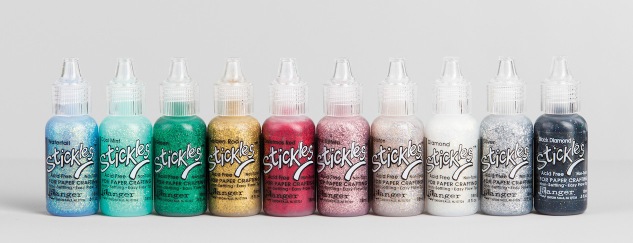
Stickles™ Glitter Gel is easy to spread, but you can also build it on a smaller area to create a more 3-dimensional look. We carry ten different colors of gels, giving you a wide variety of hues to choose from. Each bottle of Stickles™ Glitter Gel has a fine tip so you can apply it with ease and precision.
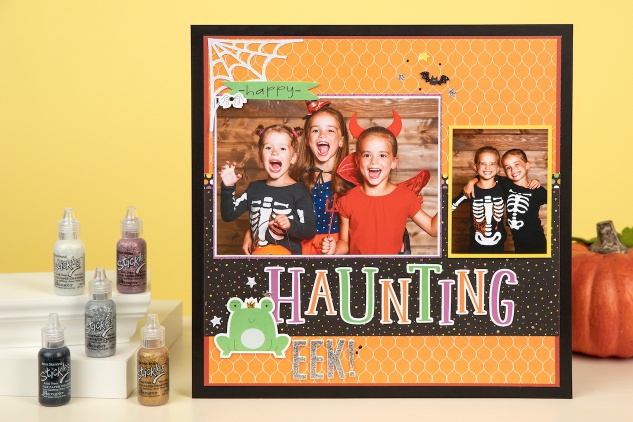
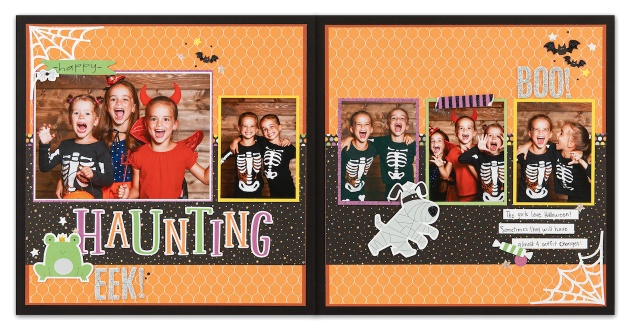
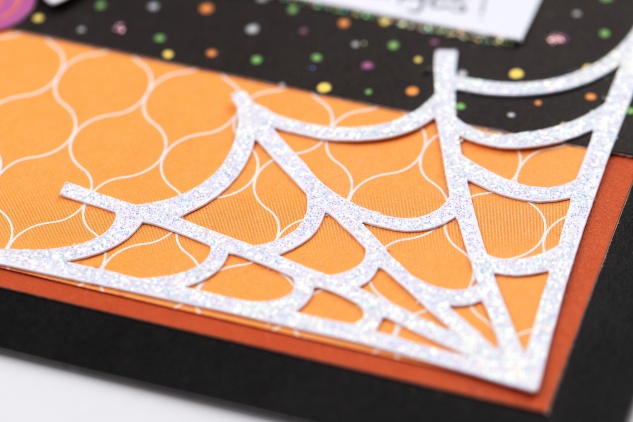
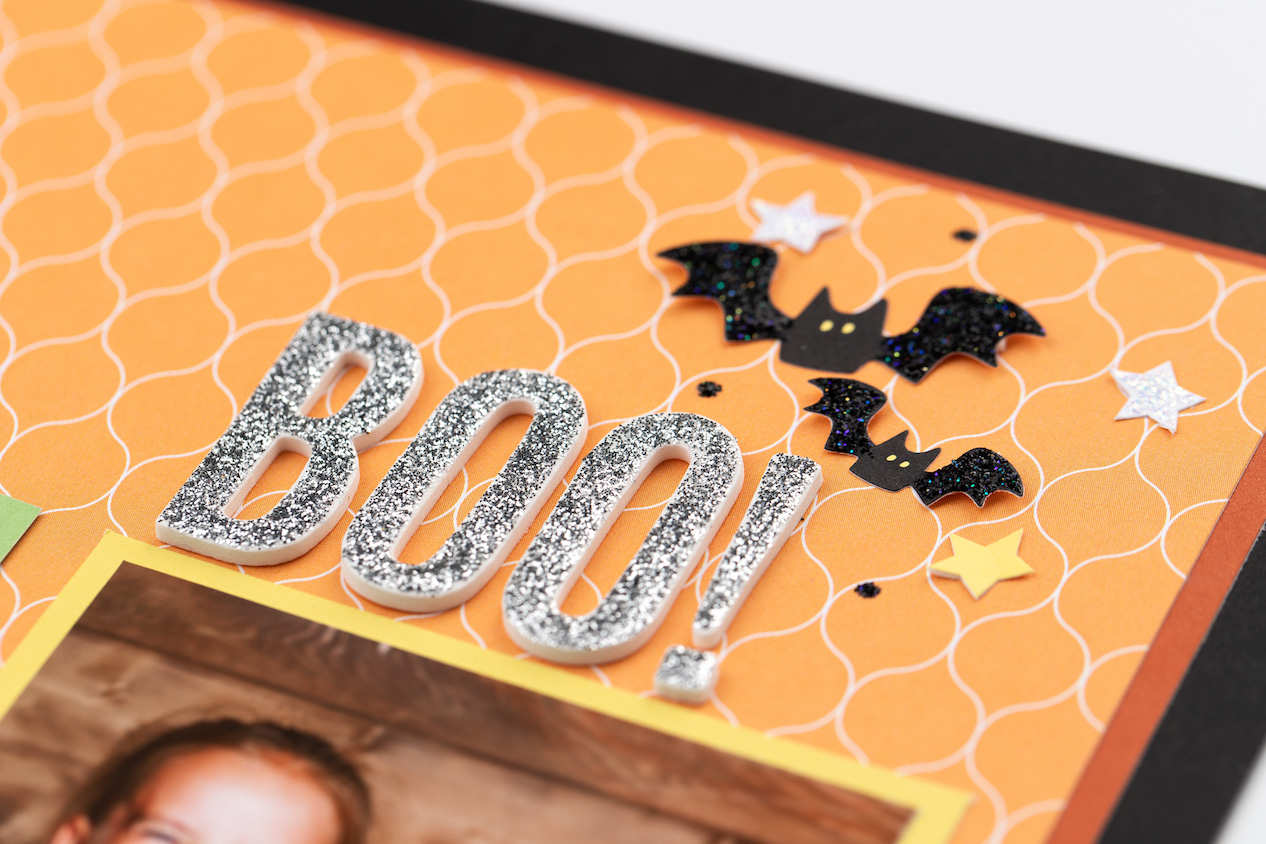
This Halloween-themed layout features many eye-catching elements created by different applications of Stickles™ Glitter Gel. First of all, take a closer look at the cobwebs in each corner. We’ve spread the gel over the paper in a thin layer to make the spider webs glisten.
Tip: To apply a thin layer of glitter gel to your project, squeeze a small amount onto a VersaMat™ and use a flat waterbrush to spread the gel gently over the desired area. If you don’t have a waterbrush handy, quick dabs with your fingers will work, too!
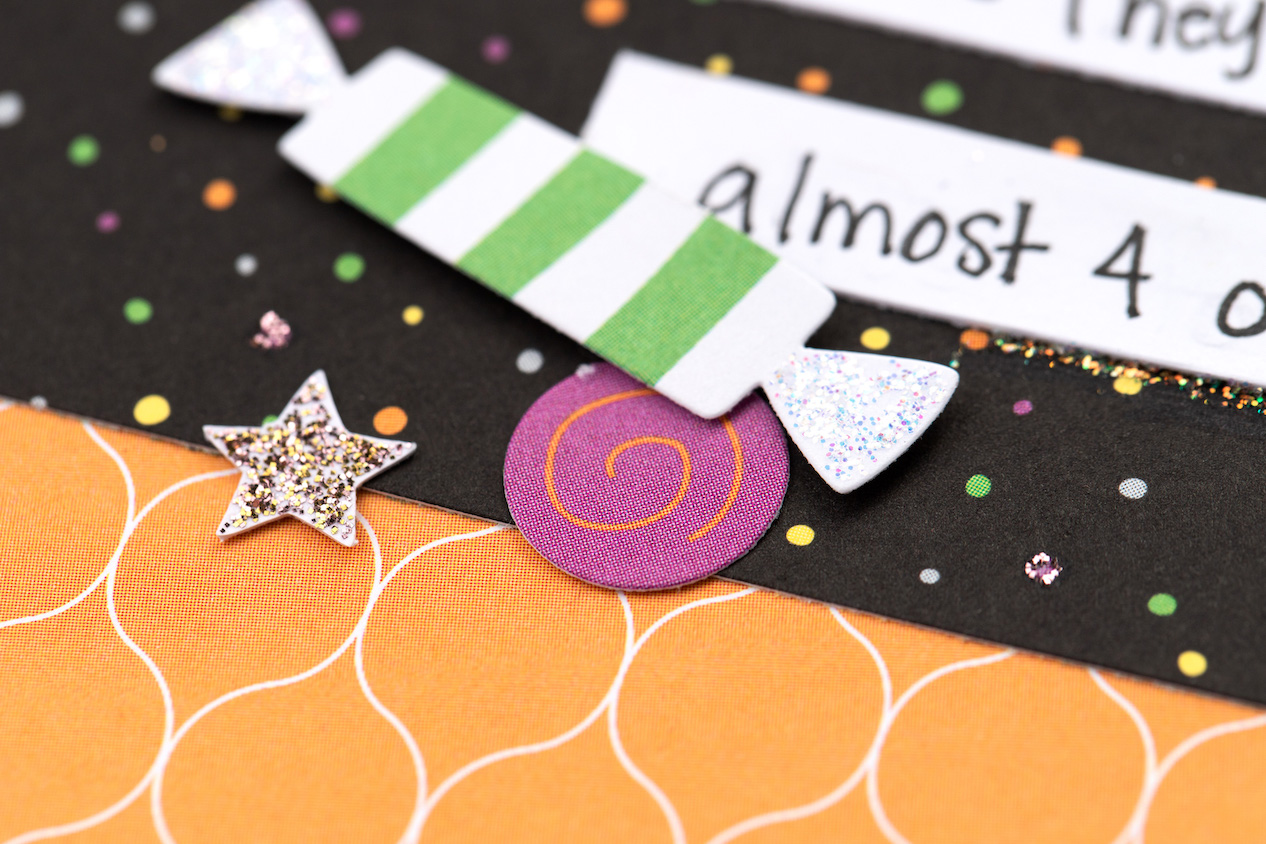
We’ve used this same spreading technique to apply thin layers of glitter on the white alphabet foam stickers, the ends of the candy wrapper, and the various stars throughout the layout. These sparkle spots help draw the eye throughout the layout and help you make your project even more personal as you make the glitter gel work for you!
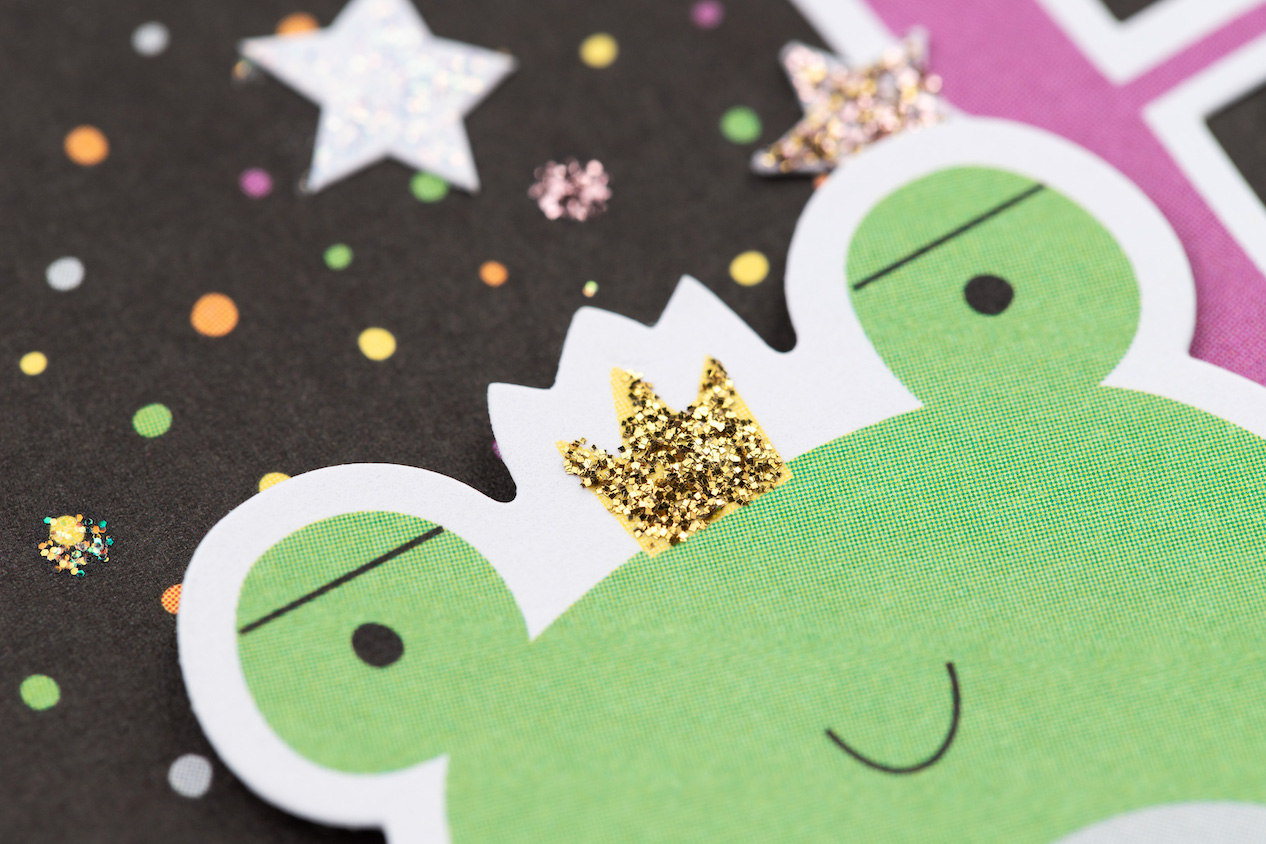
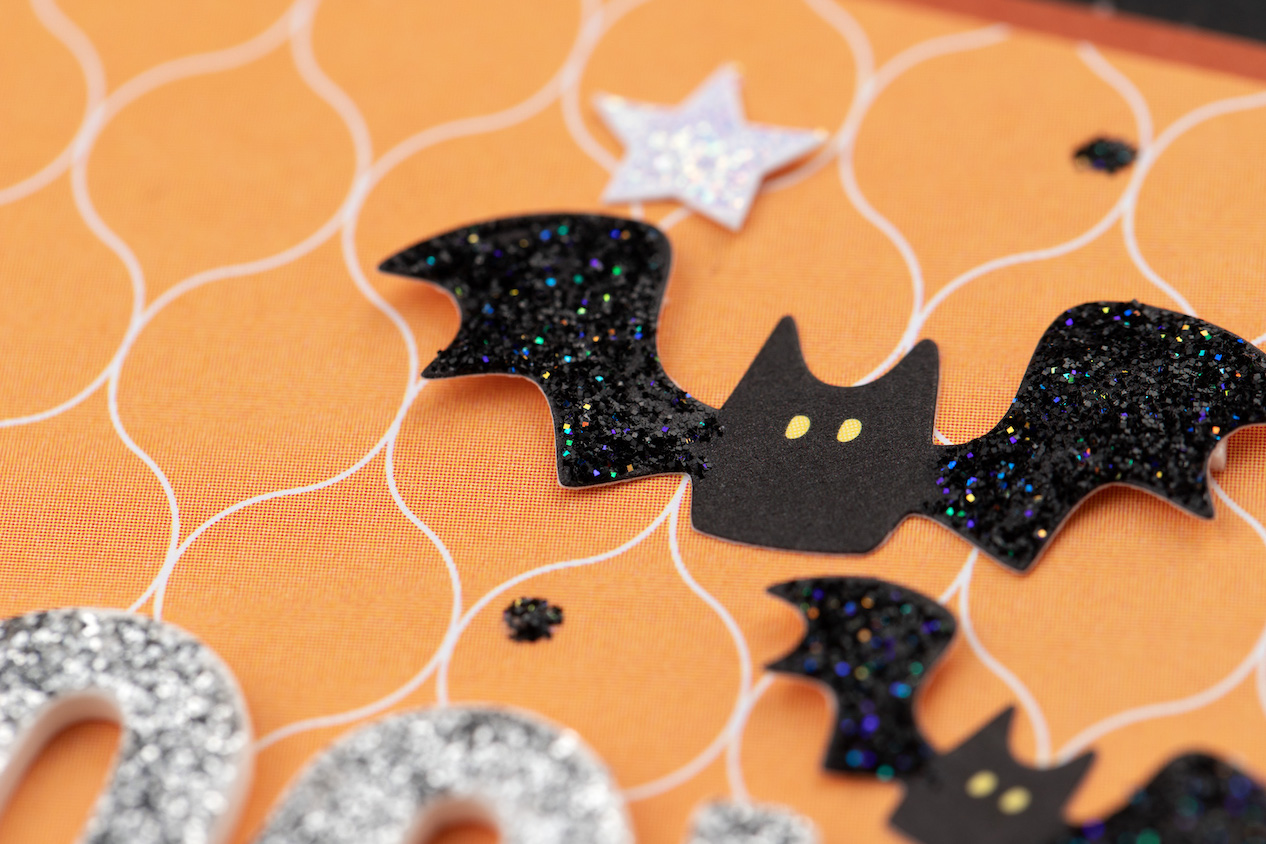
For a more 3-D feel, we’ve added multiple layers of glitter gel to build up dimension on the frog’s crown, the dog’s nose, and the bat’s wings, as well as a few dots throughout the page. If you’re hoping to capture this more 3-dimensional look, there are a couple different techniques you can try.
One is to apply it in a thick layer over a small area, as you can see with the dots throughout the layout. Stickles™ Glitter Gel will compact as it dries, so you won’t end up with the same height you had when you first applied it to your project. However, when it is applied over a smaller area, it retains more of its initial height and 3-dimensional feel.
When you want that same dimension over a larger area, you will want to apply multiple layers of the gel, keeping each layer thin, and allowing them to dry before adding a new layer. It’s important to allow the gel to fully dry before you apply another layer on top, otherwise it will take much longer to complete your project, and you may end up with smeared glitter gel.
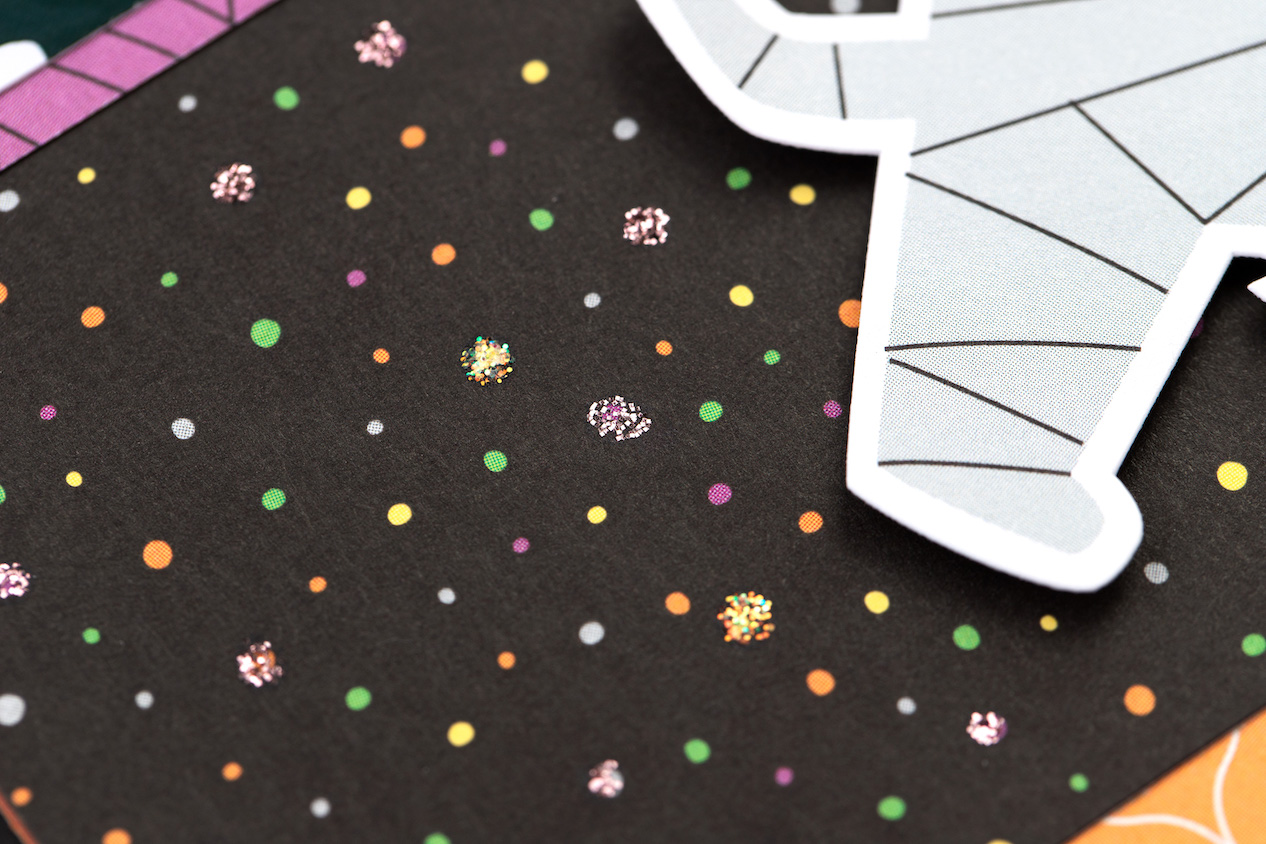
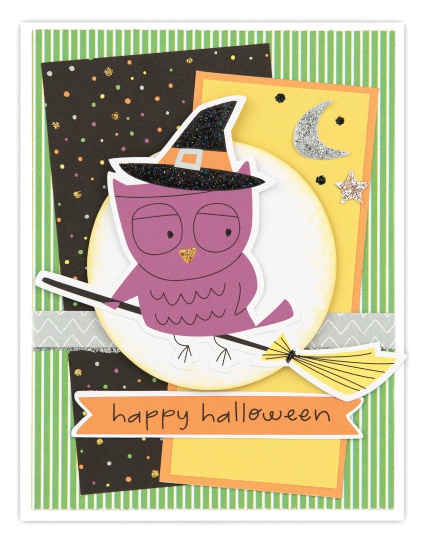
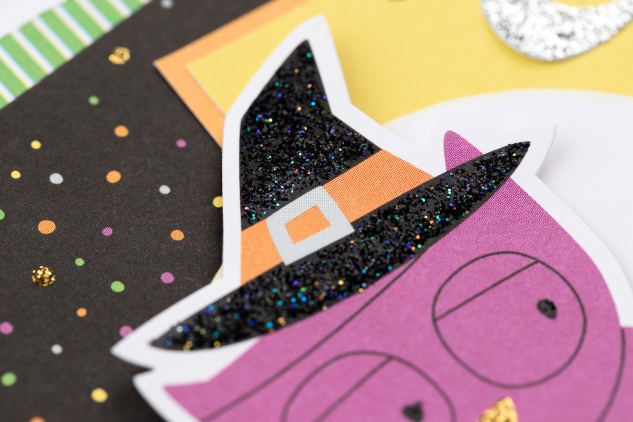
Look at how the Stickles™ Glitter Gel really shines on this adorable Halloween card. You can see that we’ve used thicker applications on the witch owl’s hat and the crescent moon, with a thin border at the bottom of the Pebble piece.
Whether you’re using it as a 3-D element or some well-placed bling, Stickles™ Glitter Gels are a great tool for adding pizzazz to any project!
Are you guys "Halloween people"...well, I'm not really...but I do LOVE having cute photos of my children to scrapbook and stories to tell...lol.
This is one of those layouts...I mean, what other pictures could you put on a layout with a big pumpkin cut with the Artistry Cricut Collection AND some CUTE Hello Pumpkin paper to go with it...
Thanks for stopping by and I hope you have a very safe and FUN Halloween!!!
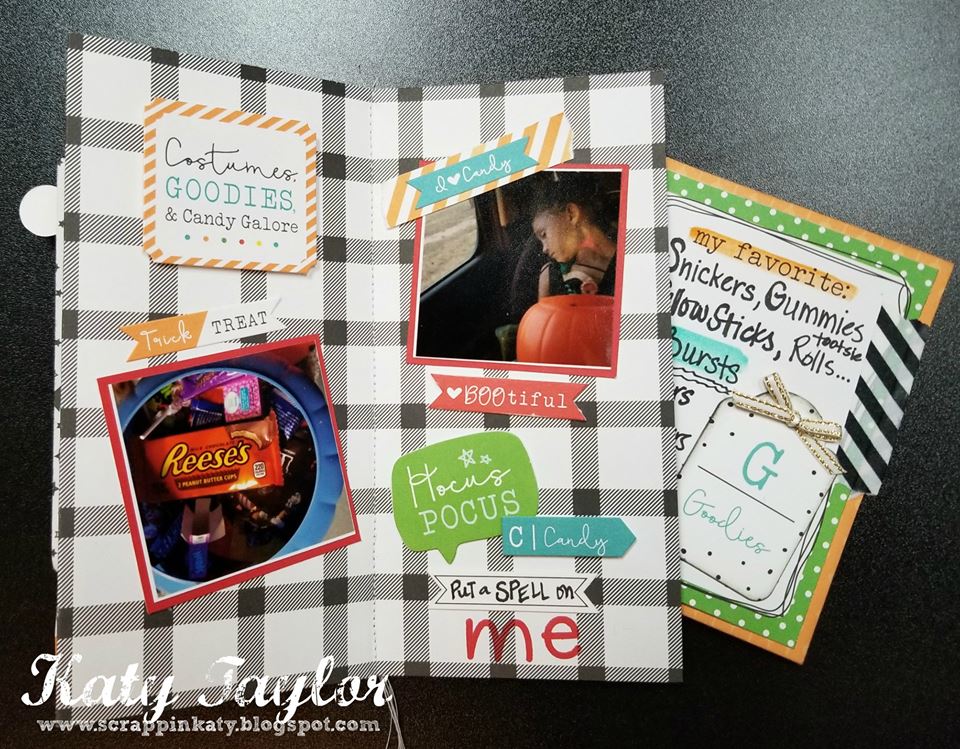
I made a FRIGHTFUL little mini-album from one 12x12 sheet of B&T and some scrap Complements and embellishments from the NEW Hello Pumpkin line...I got so many questions about it so I decided to make a video showing you how to make your own!
Here are the pictures of the one I made...
And...here's the video showing you how using the BOUTIQUE line...instead of sewing down the middle, I show you how to use liquid glass...enjoy!
Thanks for visiting me for another H2H Challenge...this week's challenge is a color one and it's GOOD!!!
Here's a look at the colors...if you don't have these exact CTMH colors, it's all good...just use a CTMH stamp or some paper on your project to qualify your submission!
Welcome to this month's Blog Hops with Heart featuring anything and everything Halloween-inspired!
There are only a few of us so it won't take you long to hop all the way through! Don't worry if you're arrived here first...you can visit the other girls by click on the link at the end of my post.
If you've come here from Amie's Blog, you're on the right track...
Here's my project, using the NEW line from CTMH, Cats & Bats...I decided to do a layout using one of my favorite pictures from a couple of years ago.
Here are some close-ups...
This layout use the Cats & Bats Scrapbooking Kit Stamp Set (I also bought the corresponding Thin Cuts but haven't used them yet...hehehehehehe). I doodled some tiny black dots using my Marvy Journaling Pen. The FABULOUS orange dots you see are from the Cats & Bats Dots and come in 3 colors....FAB-U-LOUS!!!
----------------------------------------
The tiny strips I used to tuck in and around my photo mat come from the Zip-Strips and a piece of the B&T...
--------------------------------------
All these tiny words are cut from one of the B&T pieces that come with the Cats & Bats Paper...fast and easy way to add some titling or embellishment to any layout or card!
Thanks for creeping by...if you want to start from the beginning and check out all the girls' artwork, head on over to Kelly's Blog.