Showing posts with label Watercolor. Show all posts

Monday, June 1, 2020

Garden Tags SOTM Blog Hop...

Welcome to the GLORIOUS month of June!!! I know it may seem, to some of you, that June won't be any different but I beg to differ. NO MORE homework and hopefully more days in the SUN, even if it is in our own backyards.

I am celebrating a brand new month with 21 other CTMH Consultants to bring you artwork featuring this month's SOTM, Garden Tags.


If you've come from Becca's Blog, you're on the right track...keep hopping around until you get back to where you started. If you're starting here, WELCOME! If you get lost along the way, you can always head on over to Melinda's Blog and see a complete list!

I made a card using a masking technique to get a repetitive image across the bottom of my card. I then used Watercolor Pencils and my Clear Shimmer Brush to color them in and then used a Peach Shimmer Brush to add some paint splatters...


---------------------------------------------------------
I finished it off by using the Tags and Tabs Thin Cuts and adding 3D Foam Tape to pop it off the card. The twine I used is retired and from my stash (it's a BIG stash...hehehehe)...


Remember...SOTMs are only available during the month and you can purchase it for as little as $5 with a qualifying order! Head on over to my website to SHOP and DON'T FORGET to add the SOTM to your cart before checking out!

Thanks for stopping by! I hope you'll continue the hop by heading on over to Krista's Blog and see what she has to share! Don't forget to visit ALL the blogs and leave love along the way!


Wednesday, July 24, 2019

Exploring Watercolor Techniques with CTMH...

shared from ctmh's blog...

Exploring Watercolor Techniques

As you know, we love exploring new techniques here at Close To My Heart, but we also love expounding on old favorites. Recently, we’ve had a lot of fun playing around with various watercolor techniques, and we’re so excited to share a couple with you today! We asked a few of our artists to demonstrate some of their ideas in speedy video clips, so you can see them in action, too!
Exploring Watercolor Techniques #ctmh #closetomyheart #watercolor #technique #diy #painting #cardmaking #scrapbooking
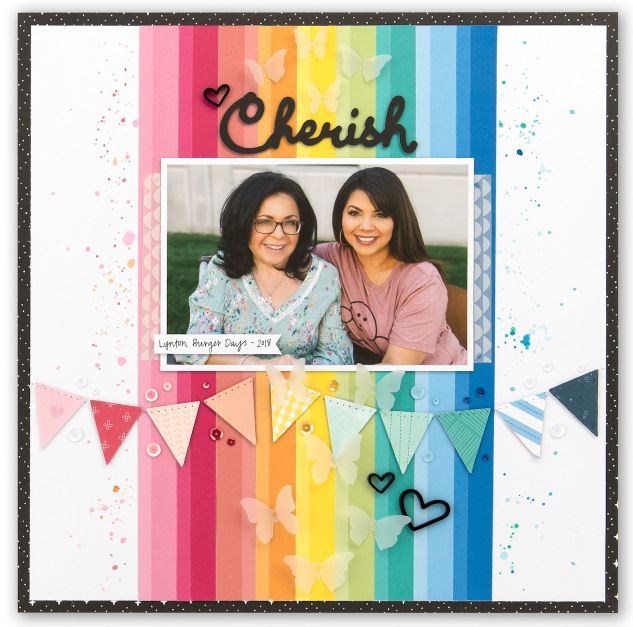
The first technique we’ll be looking at today is a splatter technique. This watercolor method allows you to add a little “controlled crazy” to your project. J
As you can see in the video, you’ll start by using a waterbrush to activate your watercolor paints by adding a drop or two of water. Once you’ve selected and activated all the colors you’d like to use, dip the waterbrush into your color of choice and swirl it around a bit, making sure to get a decent amount of paint onto the tip of your brush.
When you feel like the brush is sufficiently saturated, bring the brush over your page and lightly tap it against your index finger. This will send a series of splatters raining down onto the page to create a fun, haphazard feel.
Exploring Watercolor Techniques #ctmh #closetomyheart #watercolor #technique #diy #painting #cardmaking #scrapbooking
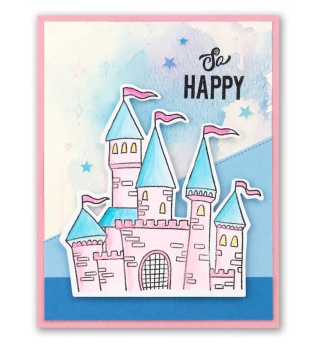
For our next technique, we’ll be showing you how to create and replicate a soft color transfer.
To recreate this look, paint directly onto your All-purpose Mat with your waterbrush. The paint will probably stay in small droplets and won’t want to spread across the mat, but that’s just fine. When you’ve added all the colors to your mat that you’d like to use in the paint puddle, gently lay your card or page down over the paint.
When you lift it up, you should have achieved a color transfer that is both soft and seamless. If you’d like it to be blended out a little more, you can swirl your card or base page around in the paint, creating the look you see here.
Exploring Watercolor Techniques #ctmh #closetomyheart #watercolor #technique #diy #painting #cardmaking #scrapbooking
The last technique we’re showcasing today is a combination of two different techniques. (Technique combinations help you to really personalize each project, so don’t ever be afraid to experiment!)
Tip: For pages like this one, it’s not a bad idea to use actual watercolor paper. When you paint over a large surface area, the paper will start to absorb the water and can curl or ripple, which distorts your project. Using watercolor paper is more resilient and shouldn’t ripple or curl as your paint.
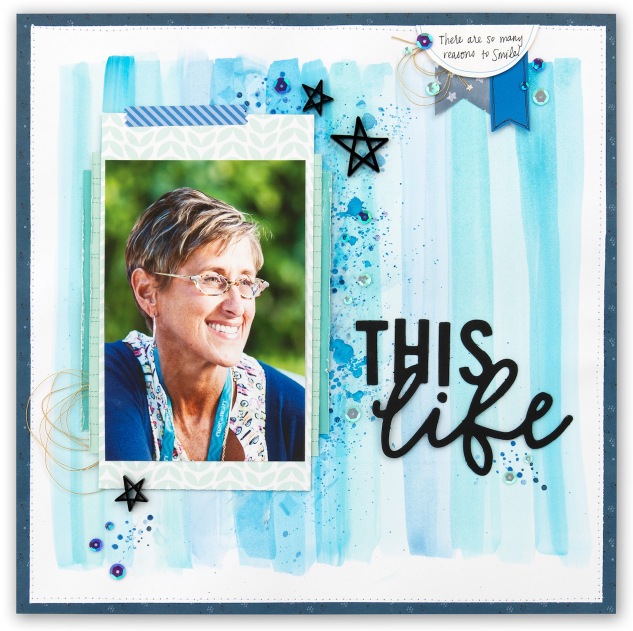
For this page, we started by selecting various shades of blue from our watercolor palette. Then, we painted long strokes down the page with a waterbrush. Once we made a couple strokes with our first color, we moved on to our next shade of blue, creating a sort of stripe sequence down the page. By sticking with a single-color theme, it’s easier to achieve a nice blend as you move across the page, and you can avoid unintentional color combination.
Tip: If you’re unsure of how a color will look on the page, it’s a good idea to do a test stroke on a piece of scrap paper. This is especially helpful if you’re mixing two colors together.
Continue alternating between your various colors or shades until you’ve covered the width of your page. Then, you’ll revisit the splatter technique we showed you earlier on in this post. Select one or two of your favorite colors and splatter it across your page. This is another place to be aware of color combination, so we recommend choosing colors that you already used in your stripe sequence. For this example, we stuck with the tried and true blue.
If you want to shake things up even more, gently blend out some of the larger splatters on your page. You can even paint a few new strokes if you want to. It’s really all up to you!

Wednesday, May 1, 2019

To My Bestie SOTM Blog Hop...

Welcome to this month's SOTM Blog Hop featuring TO MY BESTIE...


We have 20 CTMH Consultants participating this month which means you will get TONS of inspiration in a small window of time...all from the comfort of wherever you are!

If you've come from Terry's Blog, you're on the right track...keep hopping around until you get back to where you started. If you are starting here, WELCOME!!!

You all know I'm a "layout girl" but I LOVE this stamp set for cards so I decided to make one that could easily go to any of my friends but I have my BESTIE in mind (we've been best friends since the 3rd grade and aside from the "Freshman 15" that has been hanging around for 20+ years, these two girls could easily BE US!)

---------------------------------------
I used some of the B&T from the NEW True Love Collection...and those NEW Rose Gold Loose Sequins are the die for! The tiny little bouquet of flowers is colored with our Watercolor Pencils. Their hair is colored with our ShinHan Markers and represents my BESTIE and I so well...


---------------------------------------
Here is a CAS (Clean and Simple) version and the version you see me make in the process video below...the more I thought about it, the more I decided it needed some bling and the friend on the left needed to hold the flowers her hand was drawn to intend to (does that make sense...lol). PLUS this shows you how much a little bling can do...the two cards look totally different to me!


Here is a short process video showing this card start-to-finish (minus the sequins because I decided on those after the fact).


Thanks for stopping by!

Your next stop is the very talented JAYMA...head on over and see what she has to share!

Saturday, September 1, 2018

Just Treats SOTM Blog Hop...

Welcome to my Blog...we have quite the TREATS for you today...sit back and relax and enjoy hopping through this month's SOTM Blog Hop featuring Just Treats!


We only have 22 consultants participating this month so the inspiration will come fast and furious! If you've come from Kimberly's Blog, you're on the right track...keep on hopping 'till you get back to where you started. If you're starting here...WELCOME!

I have a card to share with you...but not just any card. It's one of those cards that started out as something FANTASTIC then took some major wrong turns and 3 hours (YES...THREE HOURS) later, I'm left with a little less than fantastic card but at least it's pretty with all its BOUTIQUE paper and colors!

----------------------------------------------
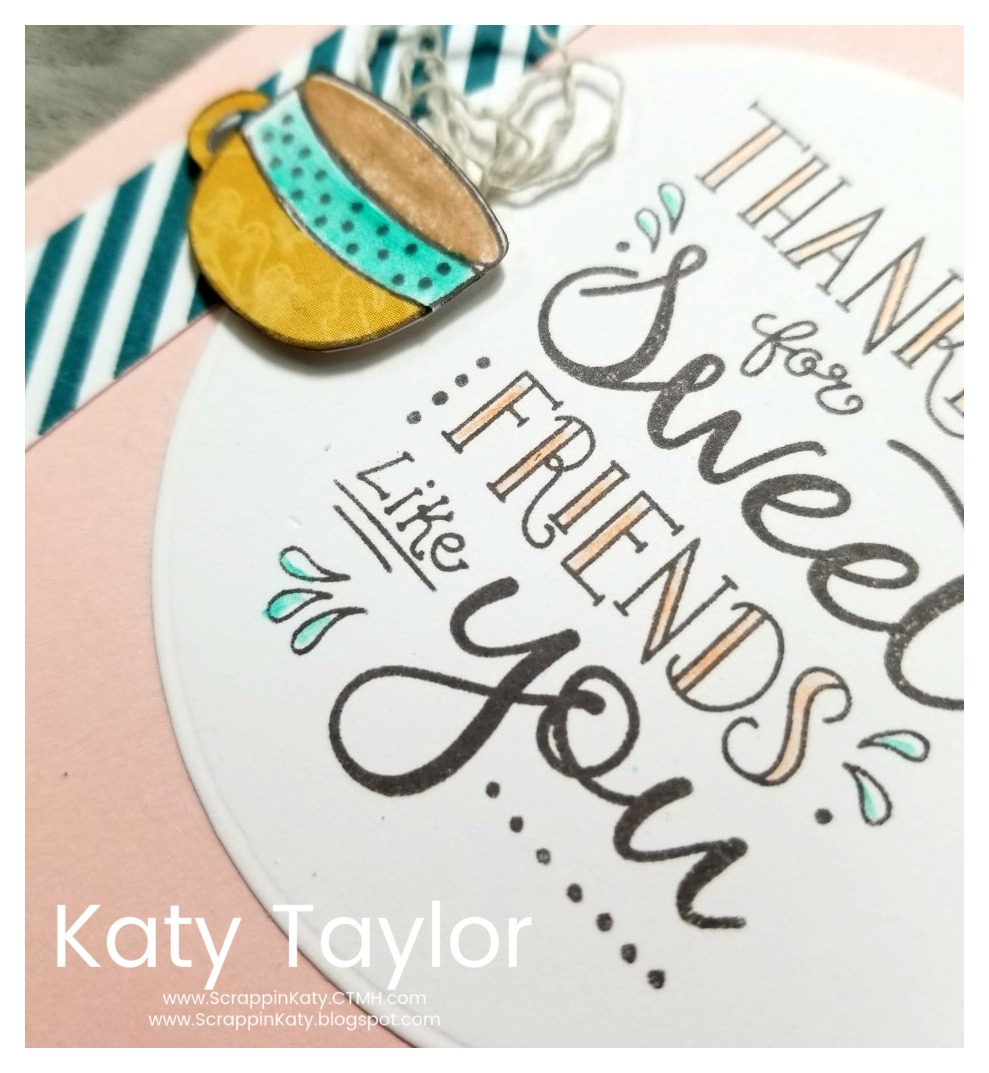
My focal piece was made using our NEW Thin Cuts - Shaker Window & Confetti die and parts of the sentiment were colored in using our NEW Watercolor Pencils...
------------------------------------------
The little hidden gem on this card is revealed when you pull the Peacock Stitched Ribbon (on CLEARANCE NOW...it's so nice to work with, I had to grab me several spools before it's gone)...
---------------------------------------------------------------
Here's what is revealed when you pull the ribbon...


-------------------------------------------------------------------
And, the inside was super simple...took one of the PML Cards that comes with the BOUTIQUE PAPER PACKET and stamped the tiny little flowers from the SOMT then used our NEW Watercolor Pencils to very messily color over the circle flowers...


Thanks for stopping by...you can head on over to Michelle's Blog to keep the hop moving!

Wednesday, January 24, 2018

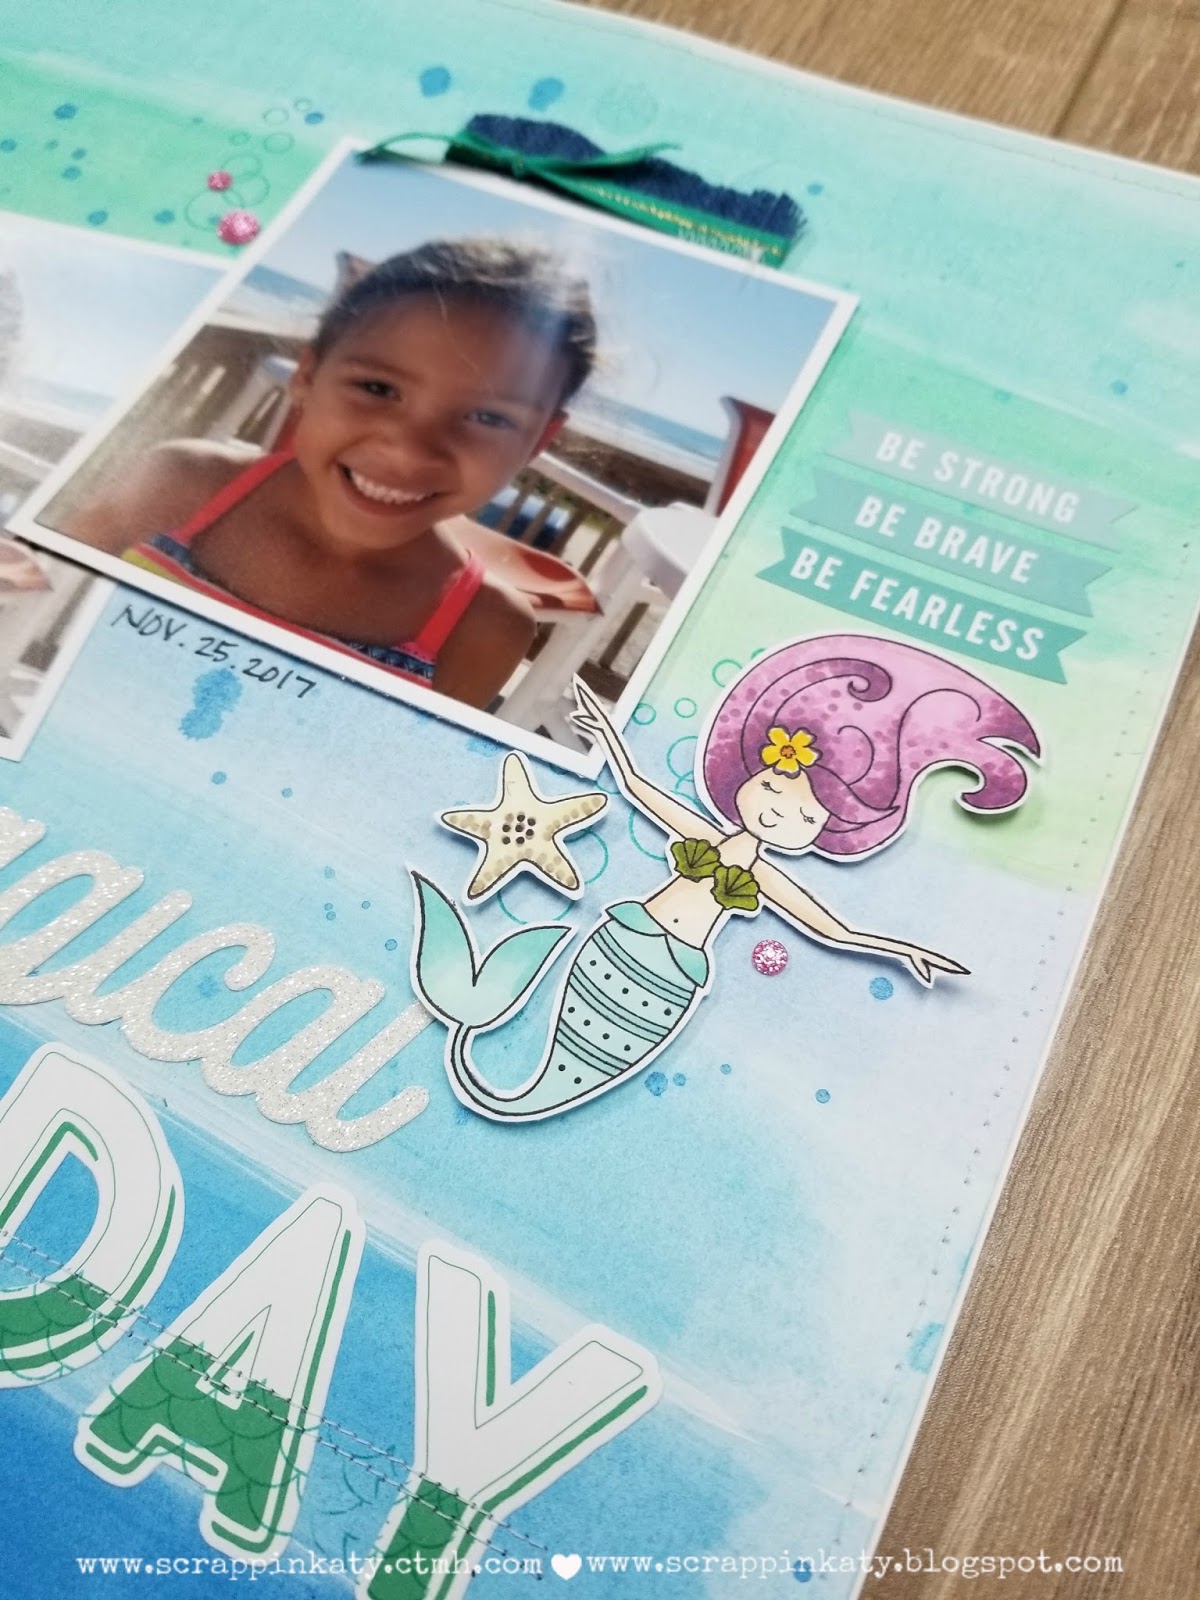
Magical Day...

Did you see my post yesterday about hand-writing on your scrapbook pages??? 

Well, I sat down to finish this layout I started this weekend and KNEW I had to add some journalling...handwritten...and what better way to ease into the practice than to HIDE it (which I'm know to do VERY OFTEN, whether it's typed, stamped or handwritten - that way, I can add personal touches that not everyone needs to see!).

I started with a blank sheet of WaterColor Paper and CTMH Watercolors...


And...here's a look at my watercolor layout using the Make Waves Scrapbooking stamp set, and some gems from the Make Waves Sequins & Gems...

-----------------------------------------
Here's a closeup of the stamping I did as well as the stitching around the layout. By watercoloring the entire 12x12 sheet of cardstock, it left it a little warped. I started by adhering the watercolor paper (after it was painted) to a regular sheet of White Daisy Cardstock...making sure my adhesive was away from the edges...and then ran through my sewing machine with a simple stitch.
-----------------------------------------
Here's a peek at my hidden journalling - it tucks behind my photo and by using some ribbon from the Adventure Ribbon Pack and some Blue Burlap Ribbon cut to resemble waves, it lets the reader know that there's an interactive part to this layout...

Thanks for stopping by!!!

And, as always...I hope I've inspired you to make your own layout...and this time HAND-WRITE your journalling instead of typing it!

Monday, January 1, 2018

New Year and NEW Products...

HAPPY NEW YEAR!!!!

I am so happy to be starting 2018 at home in my Pjs and rejoining the H2H Challenges Design Team!!!

This is our 1st Challenge of the NEW YEAR and we're showcasing NEW PRODUCT that is now available through any CTMH Independent Consultant!


This week's challenge is "something new"...interpret as you will.

I asked my daughter who was "helping me scrapbook" which NEW CTMH Line she wanted to use and, of course, she chose MAKE WAVES...it's full of mermaids, girly colors and plenty of opportunities to color or paper-piece...I chose to do both on this card.


I used our Watercolor Paper, watercolors and brushes. Paper-Piecing her hair, seashells and tail saved me from coloring a whole lot.

Thanks for stopping by! Don't forget to head over to the H2H Challenge Blog and see what the other DT Members are showcasing in our "Something New" challenge....we'd love for you to play along!


Thursday, December 7, 2017

On the 7th Day of Christmas...


my Consultant gave to me...
Our watercolor paint set, which contains 36 colors, are different from others on the market; you will just have to trust me (we have made the comparison). The Paintbrush set - 5 paintbrushes; 3 round, 2 flat - is great for applying this medium to various surfaces including our Watercolor Paper.
The Watercolor Pencils add a splash of watercolor to your stamped creations! Apply water with the colored areas with our Waterbrush (FREE with purchase) or a damped paint brush, or use the pencils alone for regular coloring. The two boxes contains 24 pencils of various colors.
Pick a Waterbrush FREE, from the three styles listed below:
  • Small Round
  • Medium Round
  • Medium Flat
Simply fill with water and use with watercolor paints, watercolor pencil, ink pads, etc.

Contact me before 11:30 pm today (CST) to select this special and get two tickets into the drawing.

FULL DETAILS OF THIS SALE
To fully benefit from this 12 Days of Christmas offer, read up on the fun details posted HERE and contact me if you have questions.


Friday, May 20, 2016

Happy Times Blog Hop...

Welcome to this month's Heartfelt Sentiments Blog Hop featuring CTMH's Happy Times which only available 'till the end of May!


It's a short blog hop FILLED with great artwork featuring this GORGEOUS paper & stamp set!

If you've come from Aggie's Blog, you're on the right track! Just keep hopping around 'till you've seen it all!

Here's a look at one of the 3 layouts I made with the Happy Times Collection...

---------------------------------------
Here are some close-ups of the Watercolor Gold PML Cards I used...
---------------------------------------
I'm usually not a GOLD person but the touches of gold in the paper, sequins & PML Cards are PERFECT for this floral collection...
---------------------------------------
Here's a look at the layout with photos and journalling...


Thanks for stopping by!

Please keep going by hopping over to Tonya's Blog and see what HAPPY thing she's created! 

Don't forget...you have 'till the end of the month to get your hands on this paper & stamp set...you can even earn the paper packet FREE with a qualifying order! 

Check back this weekend to see the other 2 HAPPY TIMES layouts! To see other HAPPY TIMES Artwork, click {{{here}}}

Saturday, February 14, 2015

"Hi" from the City - PPPR Anything Goes Blog Hop...


Welcome to this month's Pretty Paper, Pretty Ribbon Blog Hop!!! This month it's ANYTHING GOES so it should be easy to play along with us!


If you've come from Kathy's Blog, you're on the right track...if you're just starting out, you might want to start at the PPPR Blog so you don't miss anything!

I've eyeing this cut file for quite some time and it's one of the BEST SKYLINES I've seen!!!!

-------------------------------------
I used watercolor for the background...
----------------------------------------
Here's a peek at the inside...I cut 2 buildings off the edge and used it for the inside...
-----------------------------------
Here's the file I used...

That's all for me...

Before you hop to your next stop, let me give you some GOOD NEWS!!!

We have a FREEBIE to celebrate the Blog Hop so be sure to stop by the PPPR Store and get it before Monday...after that, it won't be free anymore! Isn't he CUTE!!!

--------------------------------------------
Another thing...if you'll hop all the way through, visit each DT Members' Blogs, comment and follow then you can be eligible to win a $15 Gift Certificate to the PPPR Store!!! That way, you buy most of the files you'll see on this hop!

---------------------------------------------------------------
And...we want to see your ANYTHING GOES PPPR PROJECTS!!!! You can start linking up your projects NOW and you'll have 'till March 7th to do so...link them up HERE!!!

-------------------------------------------------------
Now..it's time to hop on over to Leah's Blog and check out her crafty project!!! She ALWAYS has the cutest things to share!!!

Thanks for stopping by!!!


Friday, February 13, 2015

Hello...

It's time for another Frosted Designs Friday Challenge - this week, the theme is...


I chose mist & water colors.

I used one of my favorite papers from Frosted Designs - the Switchboard Collection and made a card that could be used for a variety of occasions and could easily be mailed (since most of my cards have some dimension and are hard to mail with regular postage).

-------------------------------------------------
Here's a close-up of the embellishments at the top as well as my mist splatters and watercoloring...
------------------------------------------------
Here's a peek at the inside...LOVE those little telephones!

Don't forget to check out the FROSTED DESIGNS Blog and see what the other DT Members did with their "messy"...you will NOT be disappointed!!!

Products used:
Lindy's Stamp Gang - Flat Fabio (from the Sweet Love February Kit)
Water Colors & Water Color Paper (140lb)