Pin It
Welcome to March's SOTM Blog Hop using the stamp set "Potential"...here's a look at the images.
If you've come from
Tamytha's Blog, you're on the right track...just keep hopping around 'till you get all the way back around to where you started.
One of my favorite things about today's technology is that inspriation is boundless...where you used to have to subscribe to multiple magazine subscriptions, save the magazines, turn down the pages (or rip them out if you were brave...lol) and keep all the things you liked in mounds and mounds of clutter, you now can subscribe to blogs, join Pinterest (which is by far my FAVORITE go-to site for anything and everything) and even catch a few things here and there on Facebook.
This card came directly from a blog I follow and
here is the card I gained so much inspiration from....
Here's what I've done with this stamp set...a 5x7 card using Stella Paper Packet...
---------------------------------
Here's a closer look at the embossing...
Like in my inspiration piece, I used the longest 'swirly' image to create the tone-on-tone black border at the bottom...I stamped in Archival Black Ink (I like that it's a richer black ink), then stamped again using Versa Mark and used clear embossing powder on top to give it some shine (hard to tell in this photo). You could have also used Black Embossing Powder but I'm out so this method works just as well PLUS you can emboss any color this way without having tons of embossing powders lying around. I then sponged regular Black Ink all over the embossed image as well as the Sorbet B&T in the background.
----------------------------------
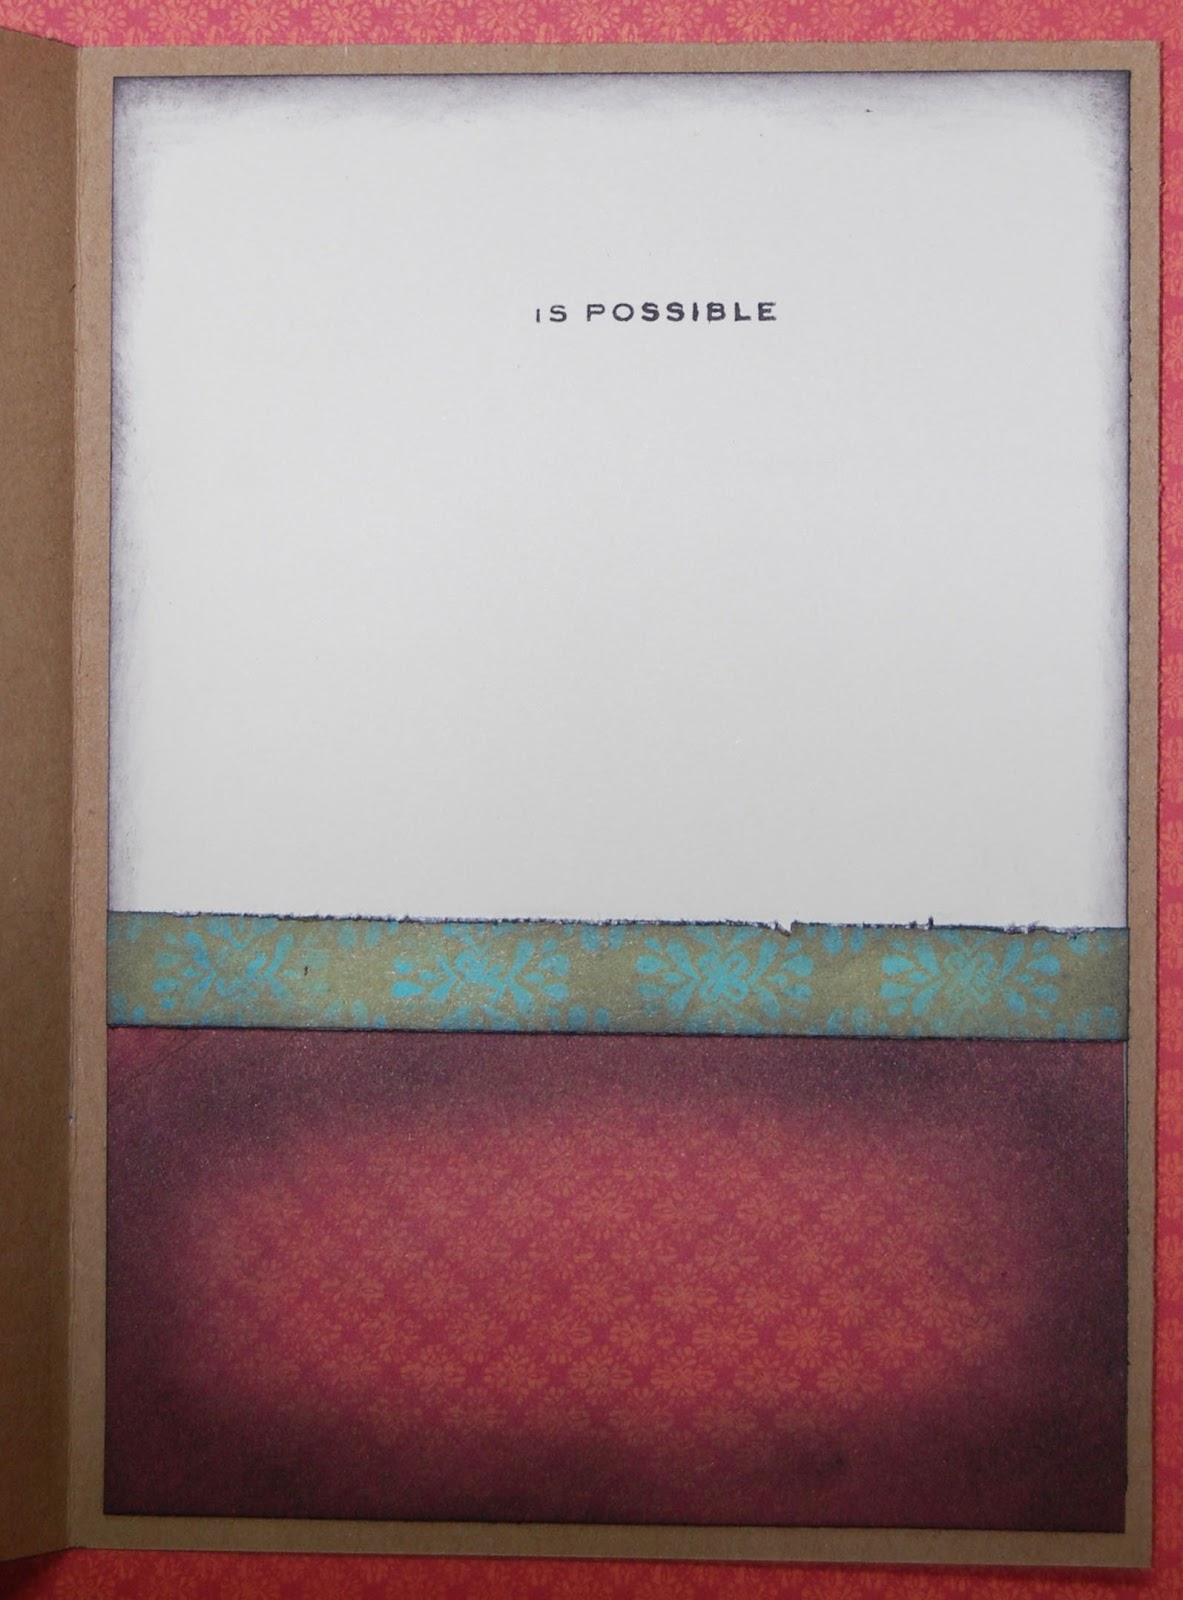
And here's the inside....
I hope you'll keep hopping with us....your next stop is
Brae's Blog.


.JPG)