It's FRIDAY y'all!!! I'm celebrating FRIDAY and it being March and having NEW CTMH PRODUCTS to share with some of my CTMH sisters in the NEW PRODUCT Blog Hop!
It's a short one so it won't take you long to hop through all the blogs and see what these crafty ladies have to share! If you're coming from Wendy's Blog, you're on the right track...keep hopping around until you get back to where you started. If you're starting here, WELCOME!
I chose to use the GORGEOUS In Full Bloom Scrapbook Workshop Kit as well as the In Full Bloom Cardmaking Stamp Set for my layout...
I love all the EXCLUSIVE floral diecuts in the Workshop Kit... -nd the edge are also EXCLUSIVE to the Scrapbooking Workshop Kit - it comes with an EXCLUSIVE stencil that I used to sponge around the edge of my White Daisy Cardstock...
Thanks for stopping by! Remember that while the March/April Catalog runs through the end of April, everything is WHILE SUPPLIES LAST and we've been selling out of some favorites lately so hurry on over to my website to get YOUR must-haves!
Thank you joining me and a few of my CTMH Sisters in bringing you CREATIVE ways to use our CARDSTOCK. We are currently in the middle of this months CARDSTOCK CARNIVAL SPECIAL and there is still plenty of time to order your bundle(s).
If you are visiting my blog by way of Judy's Blog, you're on the right track...keep hopping around until you get back to where you started. If you're starting here, WELCOME!
I chose to showcase ALL the colors in the UV-Coated Cardstock Bundle on this layout of our oldest son and his girlfriend's trip to Toronto...
---------------------------------------
By adding neutral colors from the Mix-Ins, it grounds all the bright colors and lets your eyes rest...
I added some White Gloss Spray splatter to merge the bright colors with the neutral colors...I wasn't sure how the Gloss Spray worked on the coated cardstock....
Thanks for stopping by! Head on over to Michelle's Blog and see what she has to share.
REMEMEBER this Special is only good thru March 31, 2022. Head on over to my website to shop the CARDSTOCK CARNIVAL SPECIAL!
Here is a process video for my layout...I hope you'll click on the video to head on over to YT and watch (AFTER you finish the blog hop)
When March rolls around, it’s party time at Close To My Heart! Not only is it our Founder and CEO Jeanette Lynton’s birthday month, it’s also a time to celebrate all the things you love about crafting! Today, we’ll be taking you on a step-by-step journey through the process of creating an adorable celebratory card and a handful of festive badge decorations to help you get into party mode!
If the artwork we’re showing off today looks familiar, that’s because it is featured on the cover of our new March–April catalog, which we just released! This artwork is geared toward a birthday celebration, but you can easily switch out sentiments and embellishments to suit a variety of occasions. We’ll be looking at two party crafting essentials: cards and décor!
When creating a birthday card, a standout design is key for creating a fun and memorable card! For this Happy Birthday Cake card, we used papers and coordinating colors from the new Cake Day collection.
A prominent feature of this design is the diagonal slit through the center of the card. This slit is only 1/8″ wide, but it makes a big impression! To achieve this look, you’ll want to first apply any detailing to the top piece of paper, like we’ve done with the stamped details and colorful splatters shown here. Then, you cut the piece diagonally from the top-left to the bottom-right corner.
Once the cut has been made, take each piece of paper, and along the cut line you just made, slice off half the width of the slit. Because we created this card with a 1/8″ slit, we cut off 1/16″ from each individual piece after the initial diagonal cut has been made. If the thought of cutting a 1/16″ strip makes you break into a sweat, consider recreating this look using a wider slit in the middle.
The thing that makes the slit work is choosing a fun paper to peek through it! For our card, we used Wild Berry Glitter paper and cut it to not only peep through the slit but also to provide a nice border around the top piece.
After selecting our papers, we created an embellishment cluster to place at the center of the card, comprised of a Cricut®-cut circle, a few stickers from the Cake Day sticker selection, some Gold Embellishing Thread, and a “Happy Birthday” sentiment and balloon die-cuts from the Cake Day—Cardmaking Stamp + Thin Cuts set.
Finishing up with a few Primary Sprinkles and Bitty Sparkles, this vibrant birthday card is sure to be an unforgettable part of any birthday celebration!
For the décor part of our art feature today, we’ll be going through the creation process for a selection of party badges that are sure to be a hit anywhere! For these badges, we’ve provided a downloadable Cricut Design Space™ file, which uses some basic element shapes and the Artiste Cricut Collection to construct a few of these badges.
Don’t have a Cricut® machine? No problem! These badges can also be made by hand by using a hand-held scoring tool. (In fact, four of the seven badges shown below were created using this method!)
These badges feature patterned papers from the Cake Day paper collection as well as some of the coordinating cardstock colors. You can easily customize these badges by choosing a paper collection or cardstock colors that fit the theme of whatever you are celebrating. Cardstock is a great option for this kind of project because of how versatile it makes the final piece—and now is a great time to stock up on cardstock because our exclusive cardstock is on sale all month long during our Cardstock Carnival! Talk about reasons to celebrate!
You’ll need to attach a scoring tool to your machine to achieve the final, pleated look for the badge bases. Once you’ve cut all the pieces, gently remove them from your Cricut® mat to avoid tearing, and fold along the scored lines. Create the badge shape by compressing the piece, holding the center section, and gathering the accordion fold into a circle shape. Secure the center of the circle and both ends with adhesive.
Once you’ve secured the ends and center of your badge base, you can attach any other embellishment pieces, like the dovetailed ribbon pieces on the “Party” and “Cake Time”, sentiments or stickers. You can even stack smaller pleated badge pieces on larger ones, like you see on the “Cake Time” and Wild Berry bow badges. Because these badges require relatively few process steps, it’s easy to cut and construct several at once, making them a project that not only is fun and simple to create, but is sure to wow wherever it’s used!
We hope you’ve enjoyed this artwork showcase featuring some of our newest items from the new March–April catalog. Click here to view the catalog and all the exciting new products available through March and April. Happy March, and happy crafting!
4¼” x 5½” Happy Birthday Card (Vertical)
Z4417 Cake Day—Cardmaking Stamp + Thin Cuts, X7278S Cake Day Paper Packet + Sticker Sheet, X9038 Mix-in Paper Packet, 1385 White Daisy Cardstock, Z2538 Wild Berry Glitter Paper, Z6513 Green Apple Exclusive Inks™ Stamp Pad, Z6527 Wild Berry Exclusive Inks™ Stamp Pad, Z2805 Black Exclusive Inks™ Stamp Pad, Z3821 Fuchsia Gloss Spray, Z5009 Gilt Gloss Spray, Z3823 Turquoise Gloss Spray, Z2498 True Black Marker, Z4525 Primary Sprinkles, Z1263 Bitty Sparkles, Z4054 Gold Embellishing Thread, Z2089 Glue Dots® Micro Dots, Z2060 Thin 3-D Foam Tape, Z5038 Die-cutting & Embossing Machine
3″ Cake Time Badge X7278S Cake Day Paper Packet + Sticker Sheet, X9038 Mix-in Paper Packet, X2089 Glue Dots® Micro Dots, Z2060 Thin 3-D Foam Tape, Cricut® Artiste Collection Cricut® Shape:
Artiste #M467DF #M3D95F
2¾” Party Badge X7278B Cake Day Paper Packet, 1385 White Daisy Cardstock, X6056 Wild Berry Cardstock, Z5021 Wild Berry Loose Sequins, Z2089 Glue Dots® Micro Dots, Z2060 Thin 3-D Foam Tape, Cricut® Artistry Digital Collection, Cricut® Artiste Digital Collection Cricut® Shapes: Artistry #M41686E
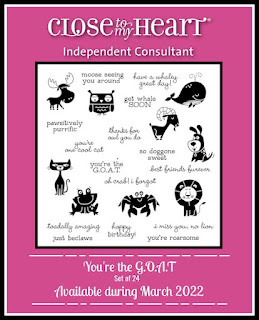
Thank for joining me on this lovely 1st day of March. I am showing some artwork featuring the March SOTM - You're the G.O.A.T. which is full of punny animals and sayings. Some of my CTMH Sisters are also sharing artwork in this monthly Blog Hop.
If you've stopped by via Darlys's Blog, you're on the right track...keep hopping around until you get back to where you started...if you're starting here, WELCOME!
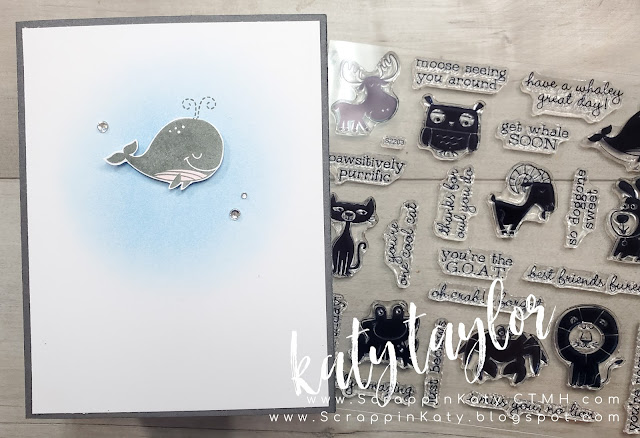
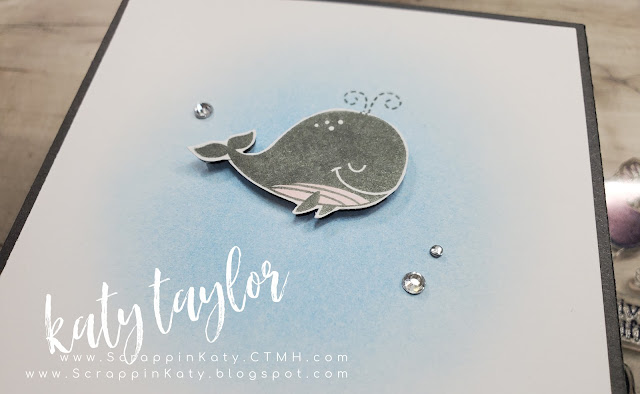
Let's take a look at the super simple card I made for a friend...I mean who couldn't have a WHALEY GREAT DAY by receiving this card!?!?!
I added some sponging of Carolina Ink in the background of the front card panel then stamped this adorable little whale on the panel. I then stamped it a second time on scratch cardstock, fussy cut out and pop-dotted him up on 3D Foam Tape for a dimensional look. A few tiny clear sparkles finished it off...
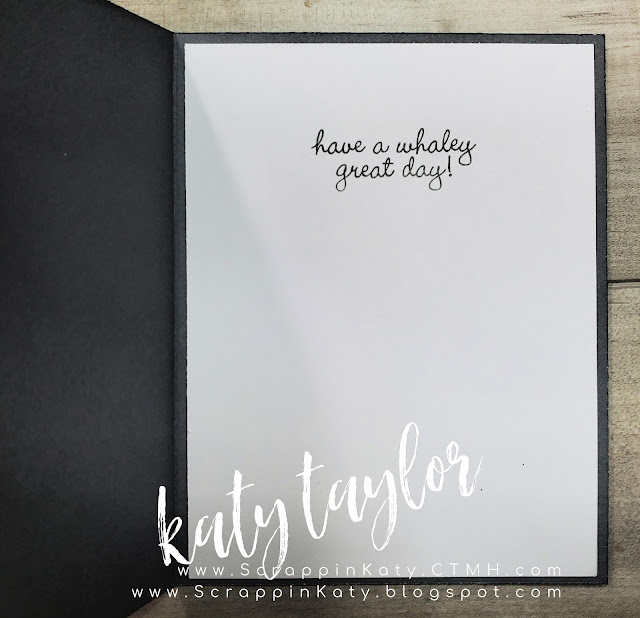
For the inside, I kept it super simple by just inking up the sentiment in Charcoal Ink and stamping it down...
Thanks for stopping by! Remember that this ADORABLE stamp set is only available during the month of March 2022 and can be yours FREE with a qualifying purchase if you're one of my VIPs or for as little as $5 if you're not. Make sure you check out my website for more details!
Your next stop is my sweet, CTMH sister, Becca with Becca-Expressions...head on over and see the ADORABLE artwork she has to share (she always AMAZES ME!!!).


 ---------------------------------------------------------------