
shared from ctmh's blog...
Sparkle & Shine with Stickles™ Glitter Gels!
One of the most exciting things about the onset of Autumn here in Utah is the first frost of the season. It’s magical to wake up to a thin layer of white, like the world’s been given a beautiful coat of shimmer! We wanted to show you a quick and easy way to capture some of that Autumnal sparkle in your projects using Stickles™ Glitter Gel!
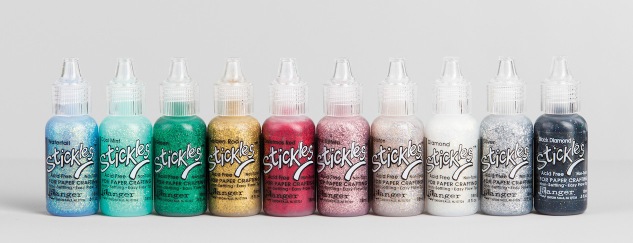
Stickles™ Glitter Gel is easy to spread, but you can also build it on a smaller area to create a more 3-dimensional look. We carry ten different colors of gels, giving you a wide variety of hues to choose from. Each bottle of Stickles™ Glitter Gel has a fine tip so you can apply it with ease and precision.
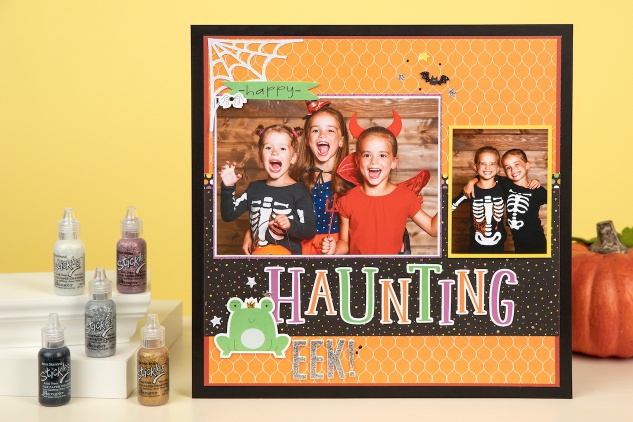
This Halloween-themed layout features many eye-catching elements created by different applications of Stickles™ Glitter Gel. First of all, take a closer look at the cobwebs in each corner. We’ve spread the gel over the paper in a thin layer to make the spider webs glisten.
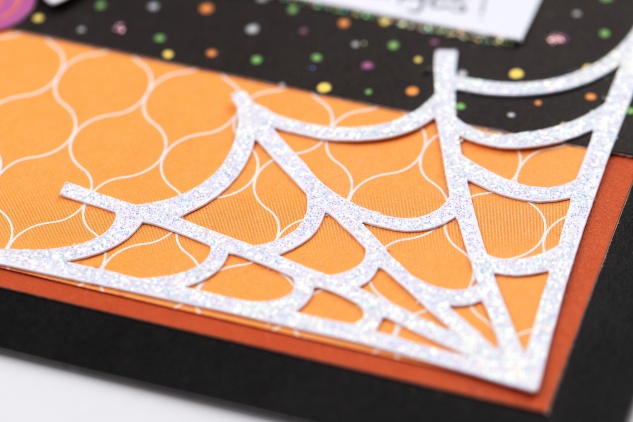
Tip: To apply a thin layer of glitter gel to your project, squeeze a small amount onto a VersaMat™ and use a flat waterbrush to spread the gel gently over the desired area. If you don’t have a waterbrush handy, quick dabs with your fingers will work, too!
We’ve used this same spreading technique to apply thin layers of glitter on the white alphabet foam stickers, the ends of the candy wrapper, and the various stars throughout the layout. These sparkle spots help draw the eye throughout the layout and help you make your project even more personal as you make the glitter gel work for you!


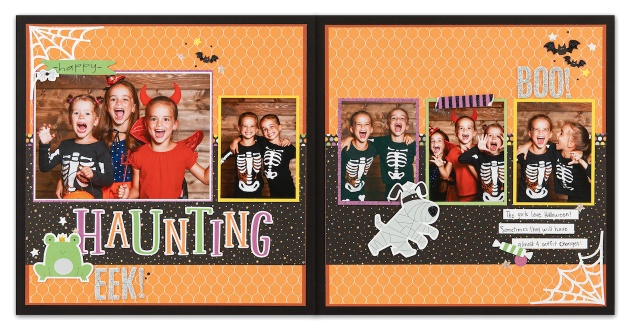
For a more 3-D feel, we’ve added multiple layers of glitter gel to build up dimension on the frog’s crown, the dog’s nose, and the bat’s wings, as well as a few dots throughout the page. If you’re hoping to capture this more 3-dimensional look, there are a couple different techniques you can try.


One is to apply it in a thick layer over a small area, as you can see with the dots throughout the layout. Stickles™ Glitter Gel will compact as it dries, so you won’t end up with the same height you had when you first applied it to your project. However, when it is applied over a smaller area, it retains more of its initial height and 3-dimensional feel.
When you want that same dimension over a larger area, you will want to apply multiple layers of the gel, keeping each layer thin, and allowing them to dry before adding a new layer. It’s important to allow the gel to fully dry before you apply another layer on top, otherwise it will take much longer to complete your project, and you may end up with smeared glitter gel.
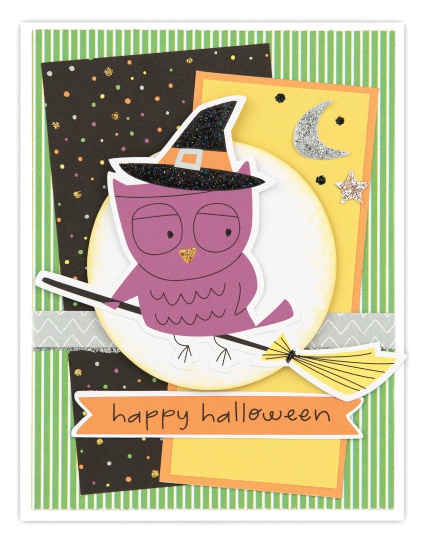
Look at how the Stickles™ Glitter Gel really shines on this adorable Halloween card. You can see that we’ve used thicker applications on the witch owl’s hat and the crescent moon, with a thin border at the bottom of the Pebble piece.

Whether you’re using it as a 3-D element or some well-placed bling, Stickles™ Glitter Gels are a great tool for adding pizzazz to any project!
No comments:
Post a Comment
Thanks for showing some {{{love}}}....