taken from ctmh's blog...
Using a 12″ x 12″ Photo in Your Scrapbook
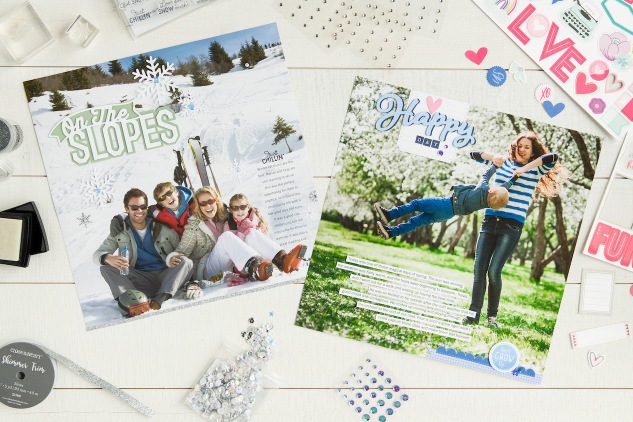
We’re so glad you’re stopping by, today, because we’re putting a spin on the classic scrapbook page and you don’t want to miss it!
The idea is simple, yet ingenious! Rather than using paper as a base for all of your album pages, try mixing it up every once in a while, and use a photo! That’s right—a large, 12″ x 12″ photo!
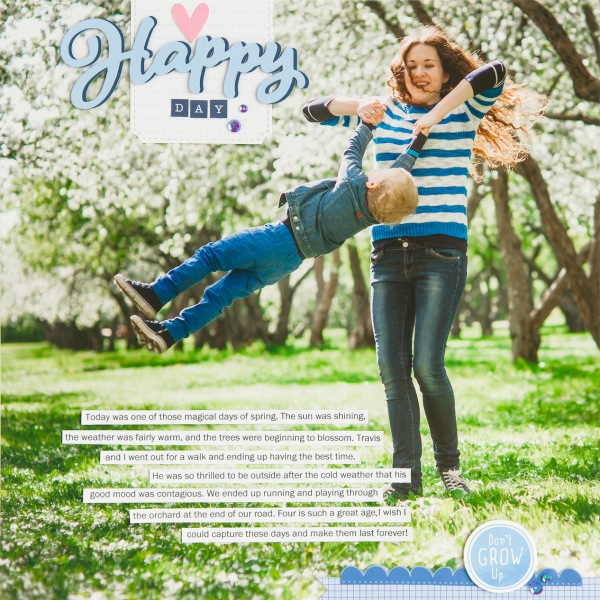
Getting one of these pages done could be is as easy as attaching a few complements and some journaling strips. Choose a photo that can be cropped to a square, if it isn’t already, and that has some open space for a few additions. The key is to use embellishments to support the story behind your photo, not to cover it up. Enhance your photo pages with Complements, titles, and accessories in colors and motifs already in your photos.
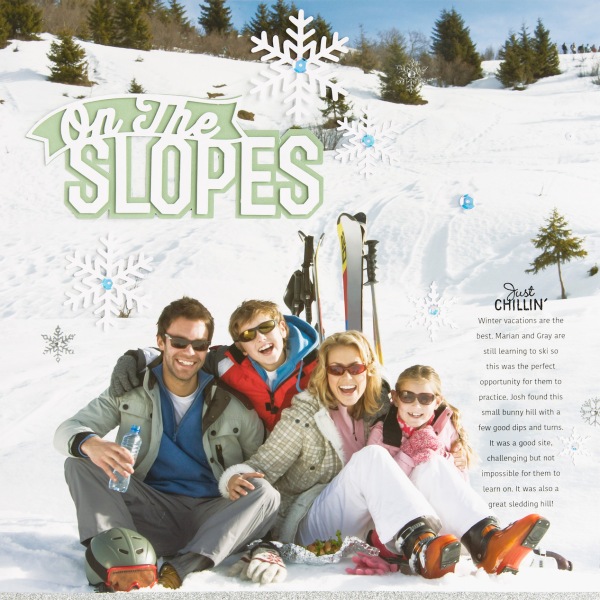
For this, “On The Slopes,” page, we used our Cricut® machine to create the color coordinating title and several unique snowflakes. We even heat embossed a few additional snowflakes right on the photo! (To avoid damaging your photo if you’re heat embossing, remember to apply heat intermittently as you’re setting the image.) And if heat embossing is possible, then you can be certain that stamping with our Exclusive Inks™ on a photo is, too! “Just Chillin’” was stamped with our non-smearing and fast-drying Intense Black ink, just above the journaling. Whether you’re planning on heat embossing or stamping on your photos, a photo with a matte finish is your safest bet to get the best results. Even though a glossy photo could also work, the matte finish allows the ink to set easier, without possible sliding or pooling before it dries.
The last idea we want to talk about is journaling. Every good scrapbook page includes at least some journaling—from small details of who, what, where, and when, to a full and lengthy narrative of the events surrounding the image(s) on the page, and everything in between. These 12″ x 12″ photo-based scrapbook pages are no exception!
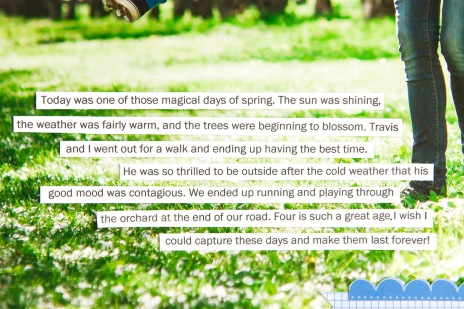
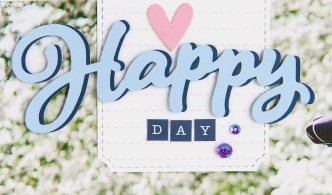
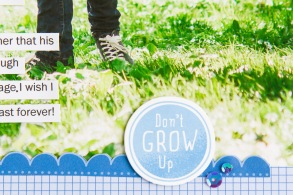
You’ll notice that on our “Happy Day” page we used strips of paper for the journaling. You can do this typed, like in our example, or in your own handwriting. If you are hand writing your journaling, we suggest writing everything out first, then cutting it up into strips, and adhering your strips to the photo page last. (We all have to practice, sometimes!  )
)
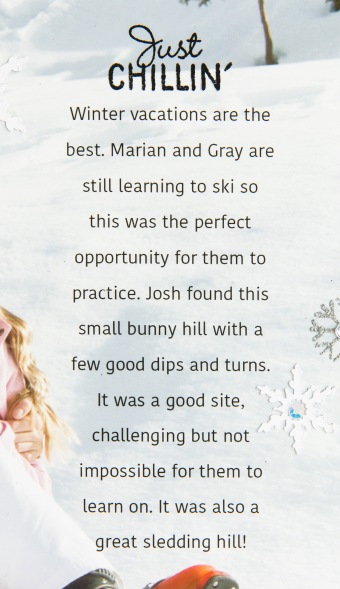
In our second example we have the words typed on the photo. There are several ways to accomplish this look. The easiest way is to add the type right in the photo with a photo editing program, like Photoshop®, before you print it. If you do not have a photo editing program but do have access to a printer with the capacity to print 12″ x 12″, you could create a file on a word processor program, like Microsoft® Word, and then print your journaling right onto your photo. Another option, if you don’t have a large-format printer, is to ask whomever prints your photos to add the type for you.
For those of you not sure where to print a photo this size, our friends at Persnickety Prints can help! Not only will they provide you with a high-quality photo, they are ready to do so at a discount, now and through the end of the month!
Use the code CTMH2 when checking out and get 20% off your 12″ x 12″ prints (matte or gloss). (Visit Persnickety Prints, here.)
If you haven’t done so already, give this type of scrapbook page a try!



No comments:
Post a Comment
Thanks for showing some {{{love}}}....