
shared from ctmh's blog...
Where to Find Free Scrapbooking Patterns (and More!)
We pride ourselves on our “Let Me Show You How” philosophy. That is one of the reasons we love providing free, downloadable patterns, whether that is right here on this blog, or on Closetomyheart.com.
Whenever we offer a workshop kit for sale, the instructions are available as a free downloadable PDF file right on our website. These instructions come fully equipped with additional materials needed lists, cutting guides, featured techniques, step-by-step assembly instructions, project photos, tips, AND patterns. Without any obligations or commitments, you can visit our site, find these workshops, download the files, and use the patterns in them at your discretion.
Even though these timeless patterns are designed with specific products in mind, we stand behind their versatility and encourage you to use them time and time again. With different papers, embellishments, and subjects matters, the finished results will always be unique.
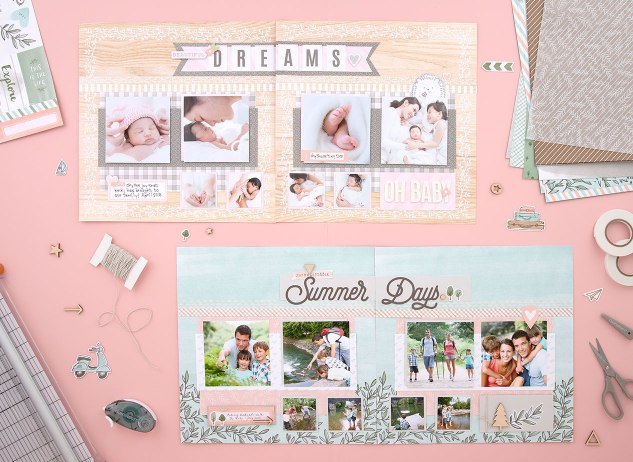
Since this month is all about scrapbooking, we took the three scrapbook layout patterns from the Workshops Your Way® Sweet Girl Scrapbooking Kit and made new pages using The World Is Yours collection.
PATTERN 1: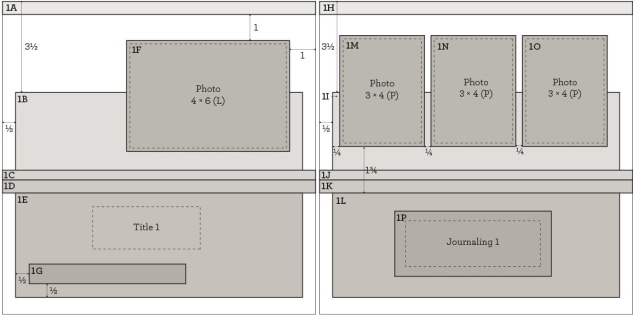
SWEET GIRL: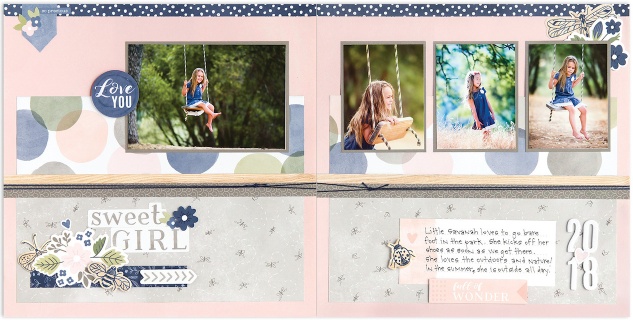
THE WORLD IS YOURS: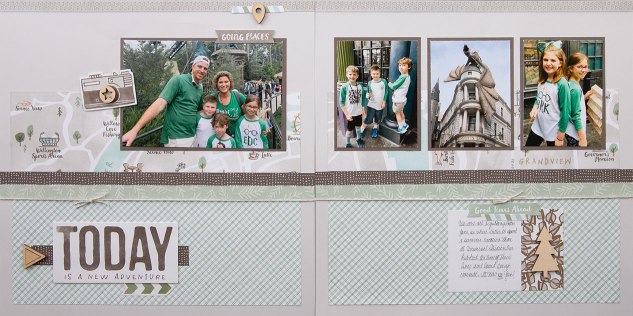
PATTERN 2: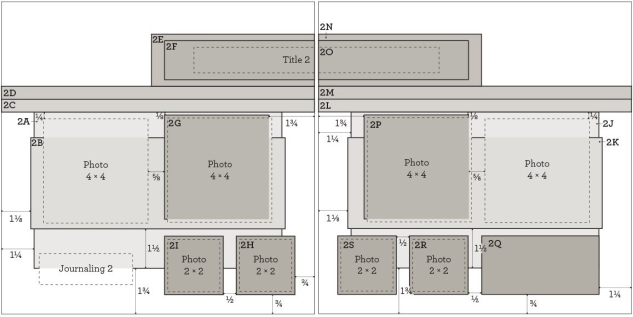
SWEET GIRL: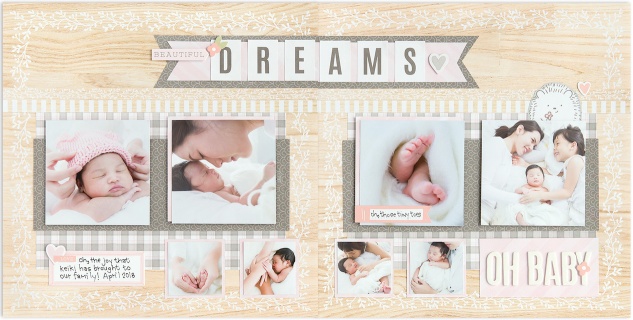
THE WORLD IS YOURS: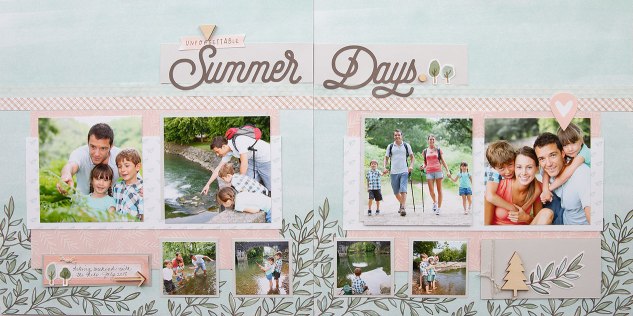
PATTERN 3: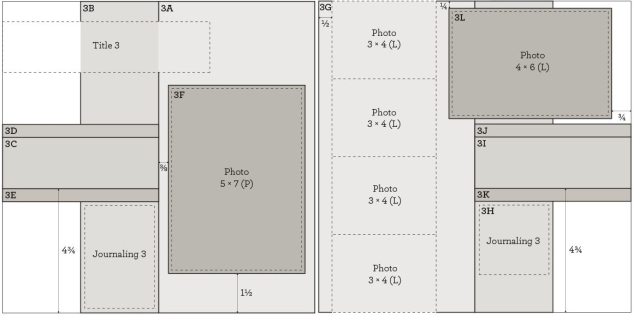
SWEET GIRL: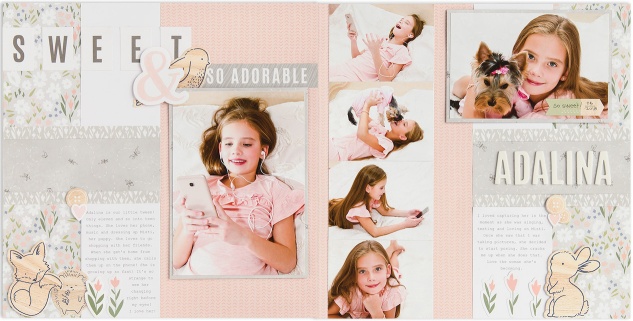
THE WORLD IS YOURS: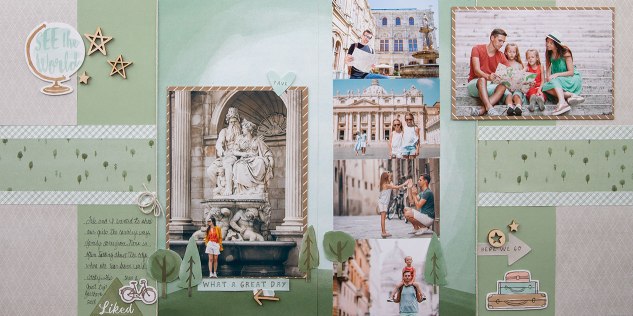 (You can download the instructions and patterns for these layouts here, or on our website here.)
(You can download the instructions and patterns for these layouts here, or on our website here.)
In each of our seasonal catalogs, you will find one scrapbooking and one cardmaking workshop for every paper collection offered. The scrapbooking workshops walk you through creating three coordinating 2-page layouts while the cardmaking workshops come with several card designs and patterns to make anywhere between 12 and 16 cards. Outside the catalogs, we also have regular monthly specials. Often, these promotions will include a workshop—this is where you will find instructions and patterns for other things as well, like mini albums and the occasional papercrafting project.
If you’re ever looking for a pattern, revisit some of your old workshops or come and visit us here or on our website. Remember, the patterns on our site are only available while the workshop kits they are featured in are, so make sure to grab them while you can!


