Shared on the CTMH Blog...
If you’re a stamper, then chances are you are no stranger to the wonders of inky fingers! But no matter how much exposure you’ve had, there are probably some things about working with ink that may still be a mystery to you. Today’s topic is Inks 101, and by the time you’ve read this post, you’ll be well on your way to becoming an ink expert!
1. Not sure which type of ink you should use for a project? Click on this handy infographic to figure it out!
2. Just like our cardstock, we offer dye and pigment stamp pads in all of our exclusive colors…meaning you’ll always have ink to match your cardstock! Easy color coordination is the name of our game. 
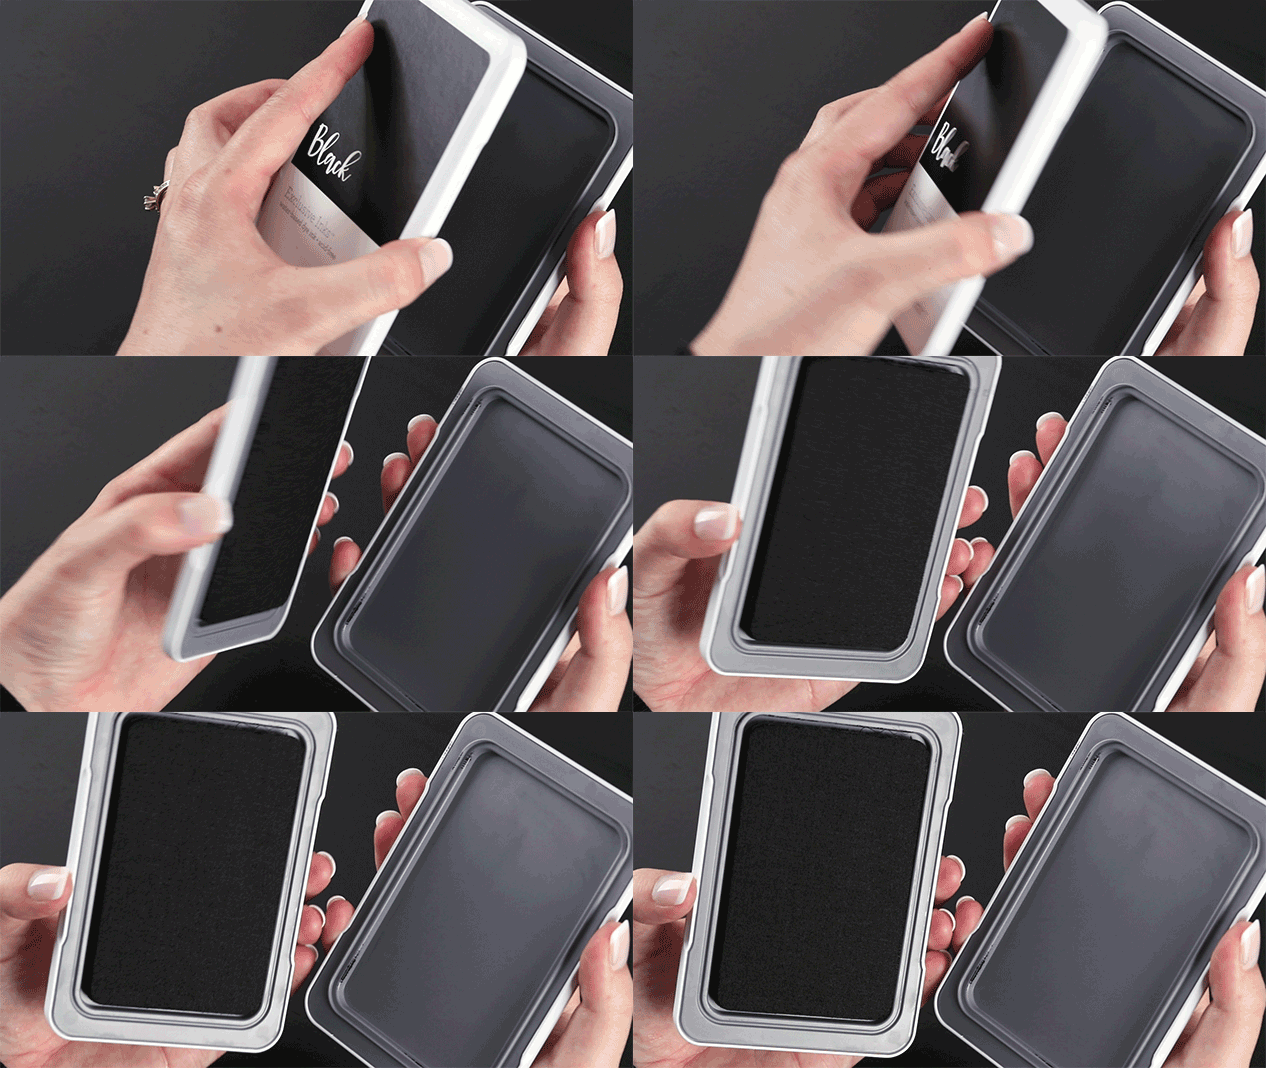
 3. Our Exclusive Inks™ stamp pads have one of the largest surface areas on the market. Plus, they’re super easy to open, thanks to the magnetic case design!
4. We designed our stamp pads so that the pad is on the lid of the case. This way while your stamp pad is sitting around waiting to be used, the ink is settling on the surface of the pad so you’ll always be able to get a crisp stamped image.
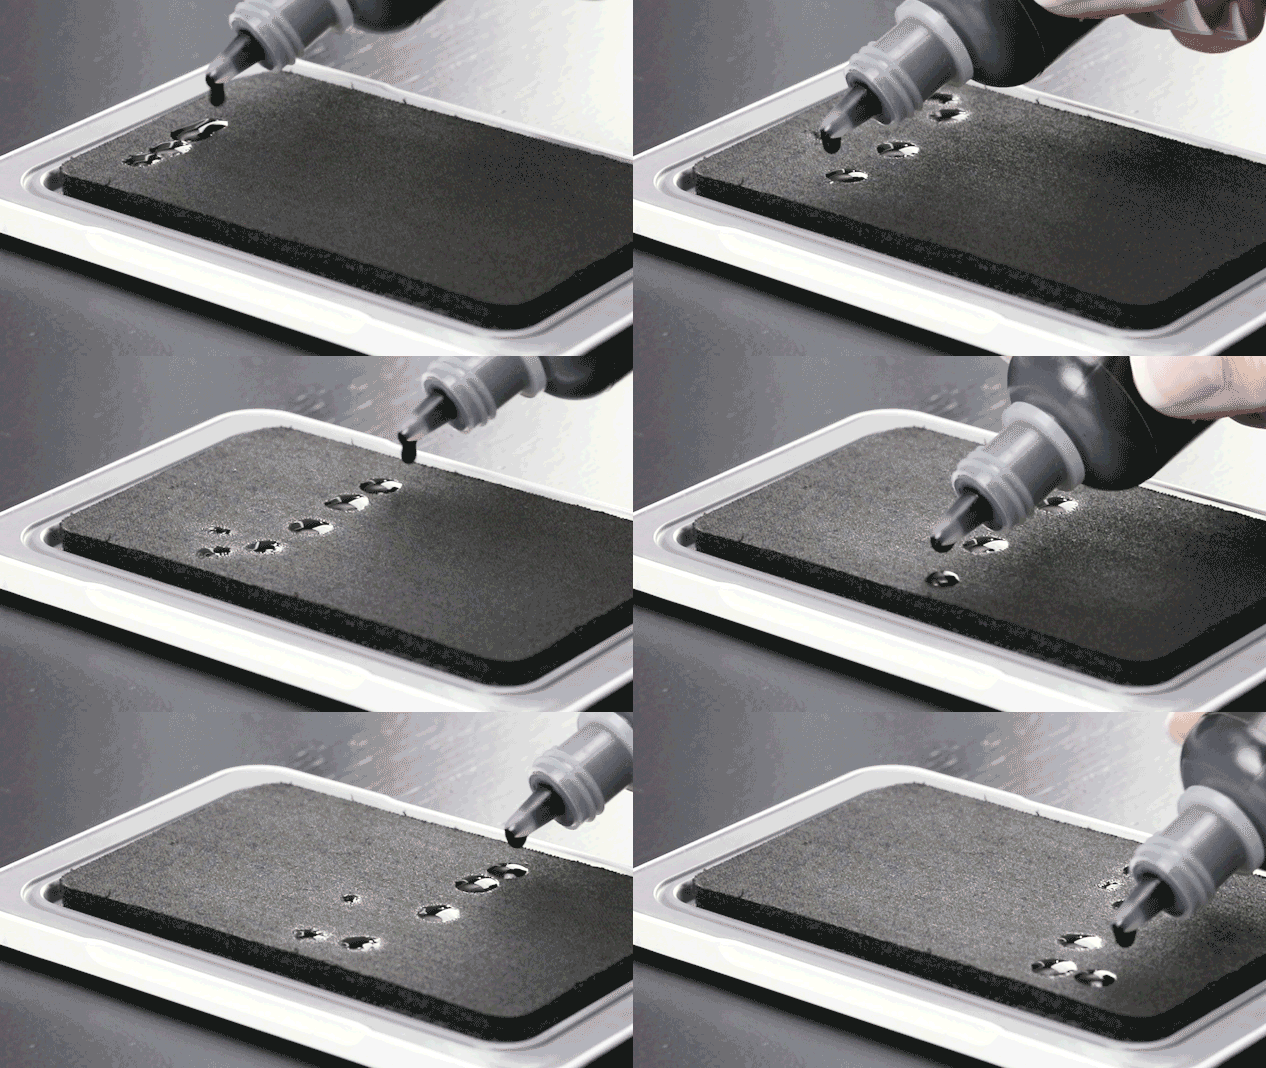
5. Is your stamp pad getting dry? That happens with a lot of use over time. But the good news is that instead of buying a new one, you can buy the coordinating re-inker and use it to replenish your pad. To re-ink a stamp pad, gently squeeze the re-inker evenly over the surface of your stamp pad while moving in a zig-zag pattern, top to bottom. Repeat until your stamp pad is properly saturated again (you won’t even need to use the whole bottle!). Just be sure to give your ink some time to soak in before using the stamp pad.
6. Is your stamped image darker than you thought it would be? Don’t worry, that’s normal! Dye inks need a little bit of time to cure, which means that they need to fully dry before they turn the right color. This shouldn’t take too long, but a craft heater can certainly help speed up the process.
7. When using our mini pigment ink stamp pads, dab the stamp pad lightly onto the stamp rather than trying to press the stamp onto the stamp pad.
8. Pigment ink sits on the surface of your paper, which is why the colors are more vivid than dye inks. However, this means pigment ink takes longer to dry. Give images stamped with pigment ink time to air dry, or use a craft heater to dry them right away.
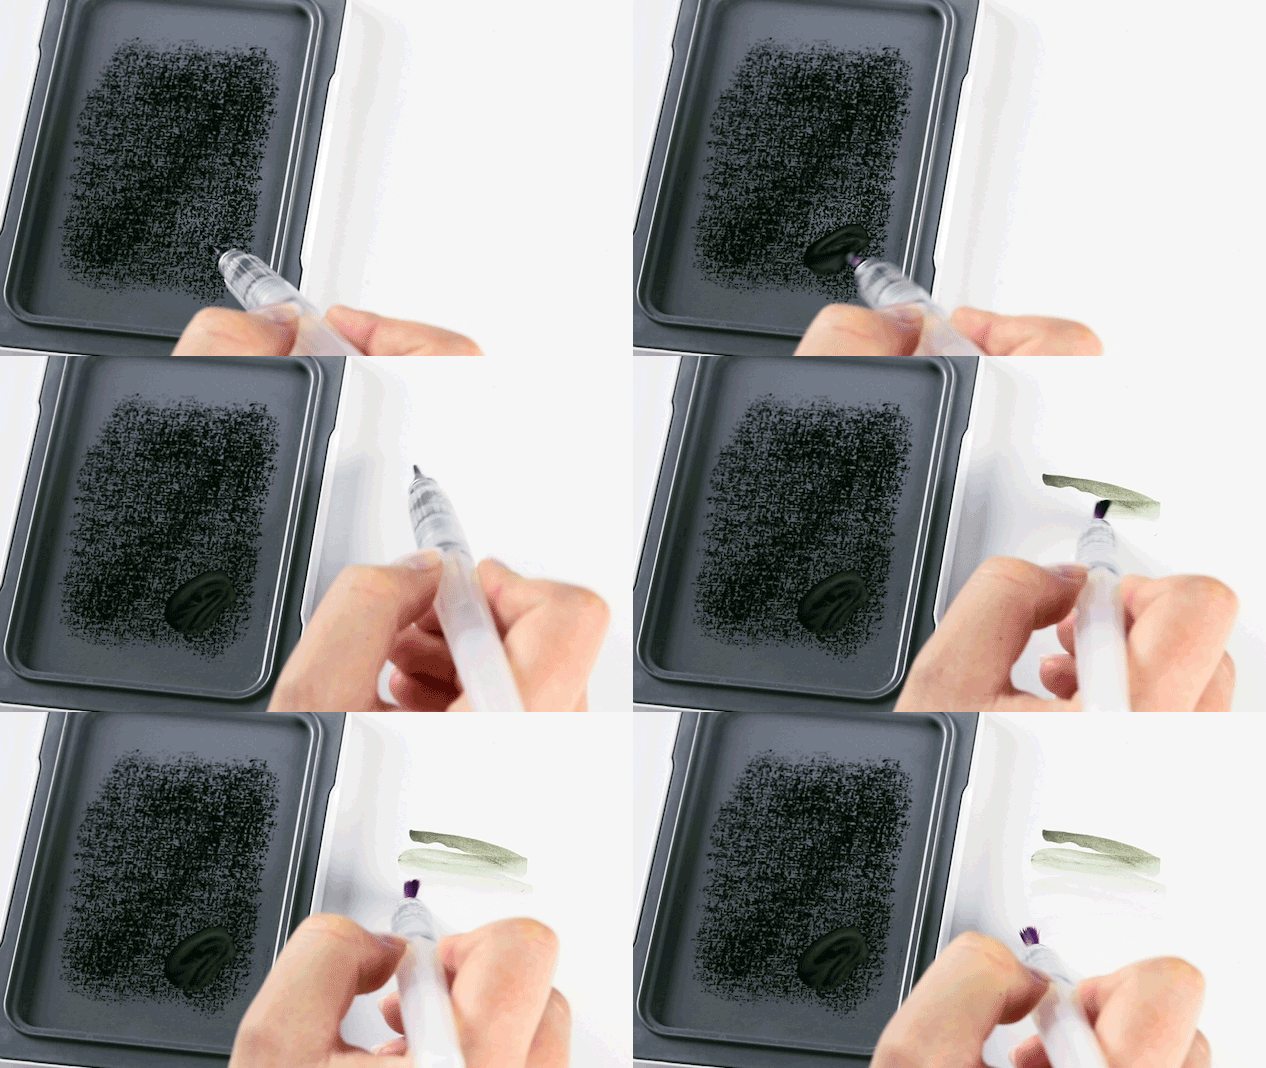
9. If you’ve got the painting bug, then you’re going to love painting with our inks! Start by squishing the lid of your closed stamp pad all over. This will transfer some ink from the pad onto the other side of the case where you can pick up the ink using a slightly damp waterbrush or paintbrush, and then paint away!
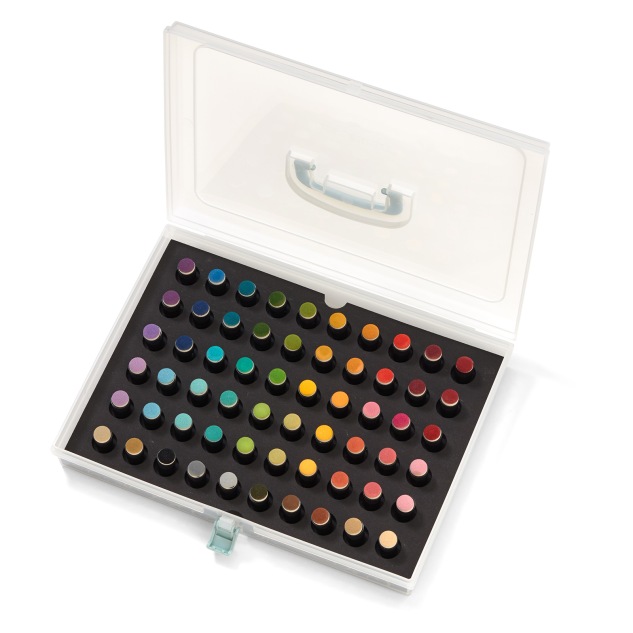
 10. If you want to create a splattered paint pattern on your artwork, then our spray pen is your friend! Simply fill your spray pen with some water and add a bit of ink from a re-inker bottle, shake, and then spritz onto your artwork. Raise the spray pen higher for a subtler splatter and closer to the paper for a more concentrated splatter. If you want the ink to dry faster, try using rubbing alcohol instead of water.
 11. Our round sponge and sponge daubers can create really cool effects with our inks. With the sponge daubers insert and small organizer, you can store a whole collection of sponge daubers, even labeling them by color so you don’t forget which dauber you used for each stamp pad.
 12. In addition to our Exclusive Inks™ stamp pads, we also offer the VersaMark™ ink pad. Use this ink pad to create watermark images, or add embossing powder over the stamped image, shake off the excess, and heat set for an entirely different look!
13. Coloring in your stamp? Make sure you use the right ink to avoid bleeding! Memento™ is the way to go if you’re using alcohol markers, and Archival Black permanent ink is best with watercolor paints or pencils.


Very helpful hints! Thanks for sharing them.
ReplyDeleteEvelyn